The fence was *supposed* to go up in one day, but what's *supposed* to happen doesn't always! We do have 2 lines up and the corner posts set, and should finish tomorrow. It must have been those days in the 80s that spoiled us, because we just weren't able to persevere as we should in the sleet/snow/weird frozen ice pellets that were coming down today.
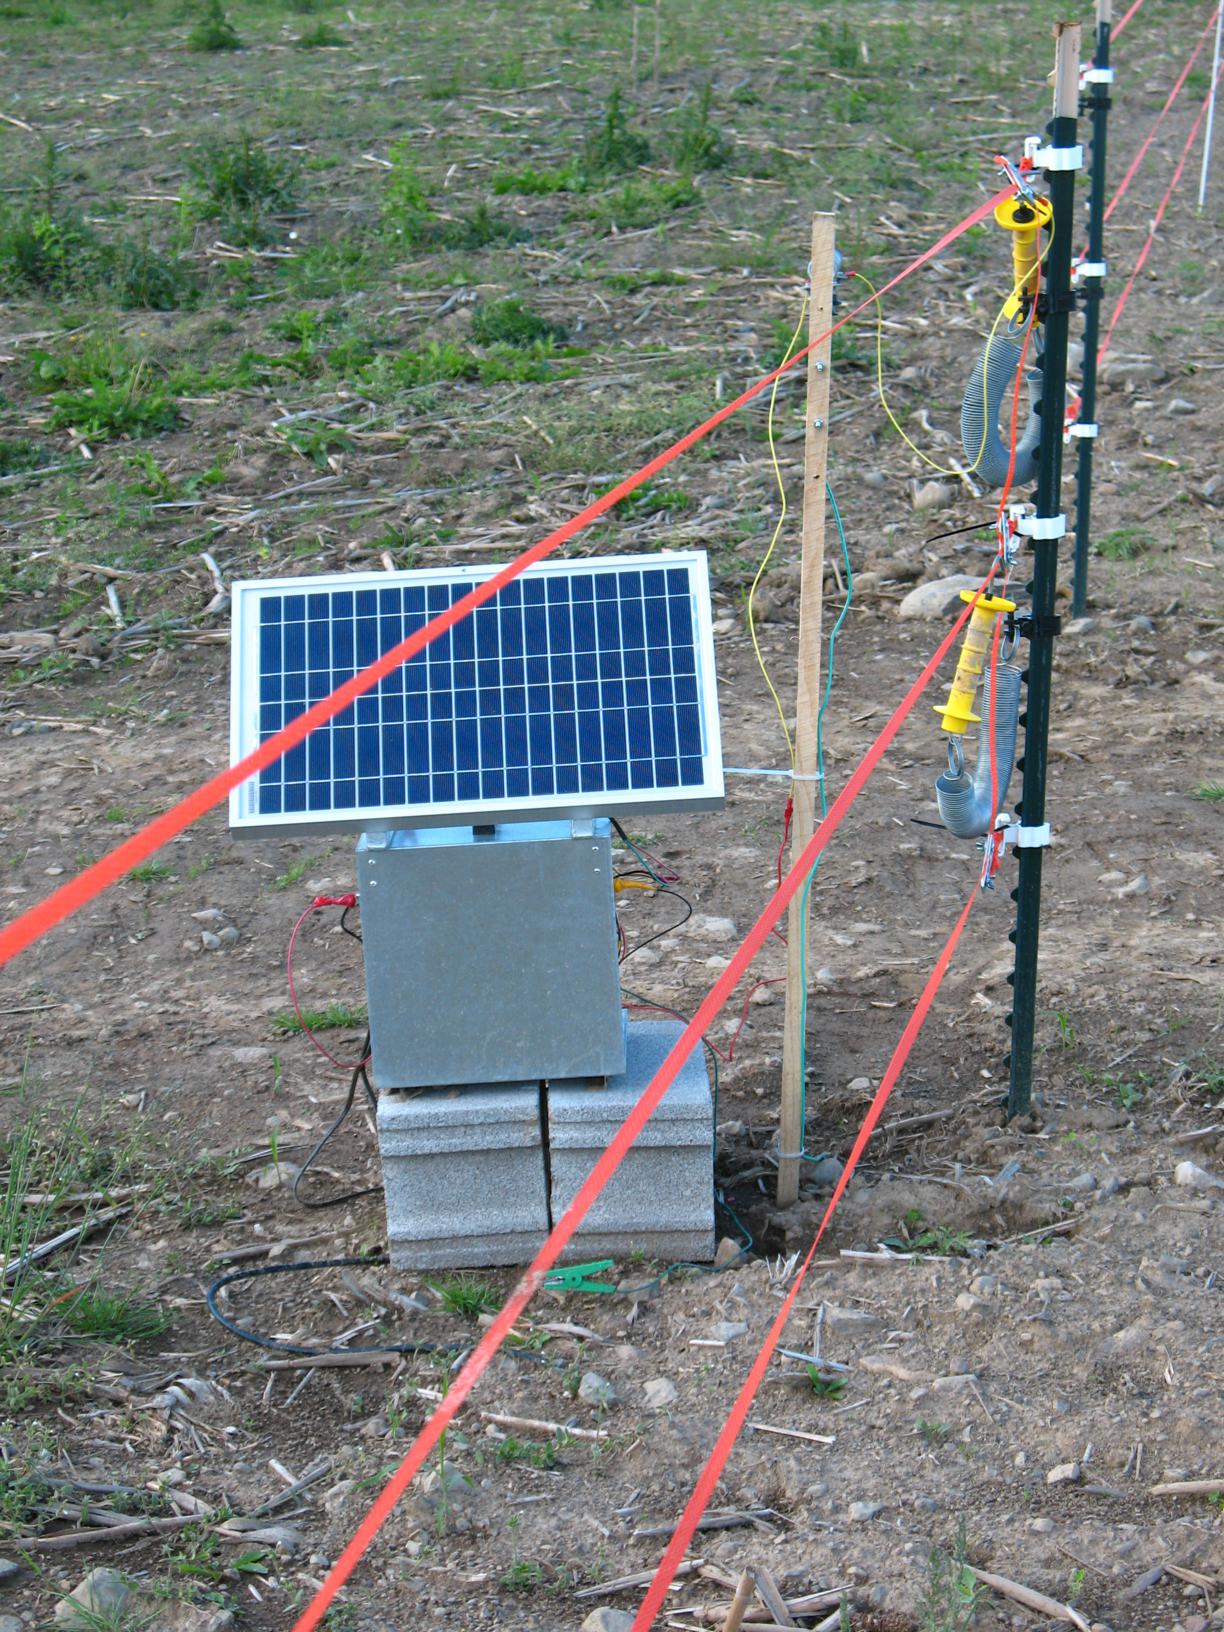
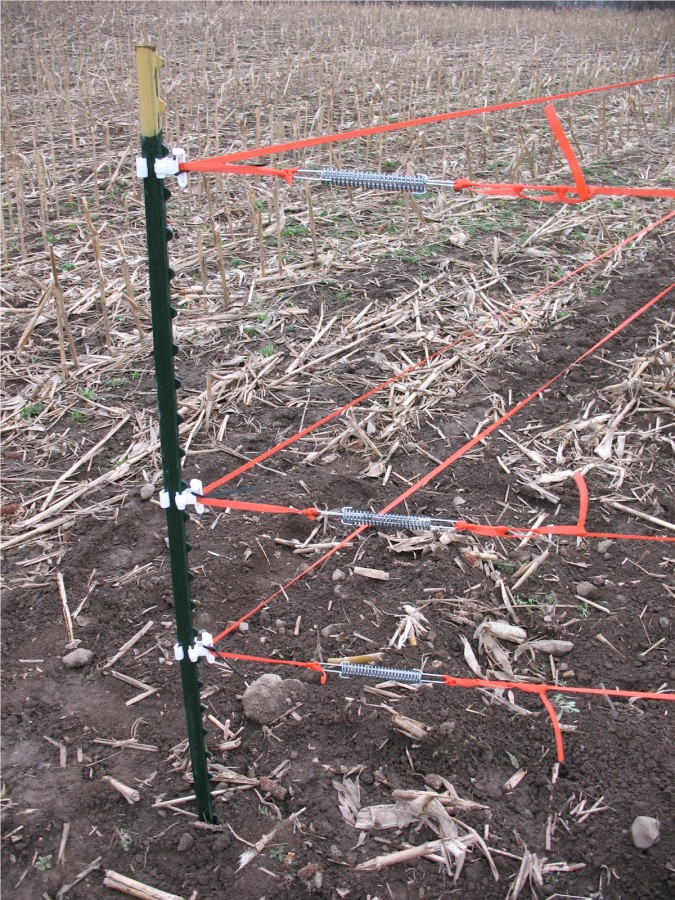
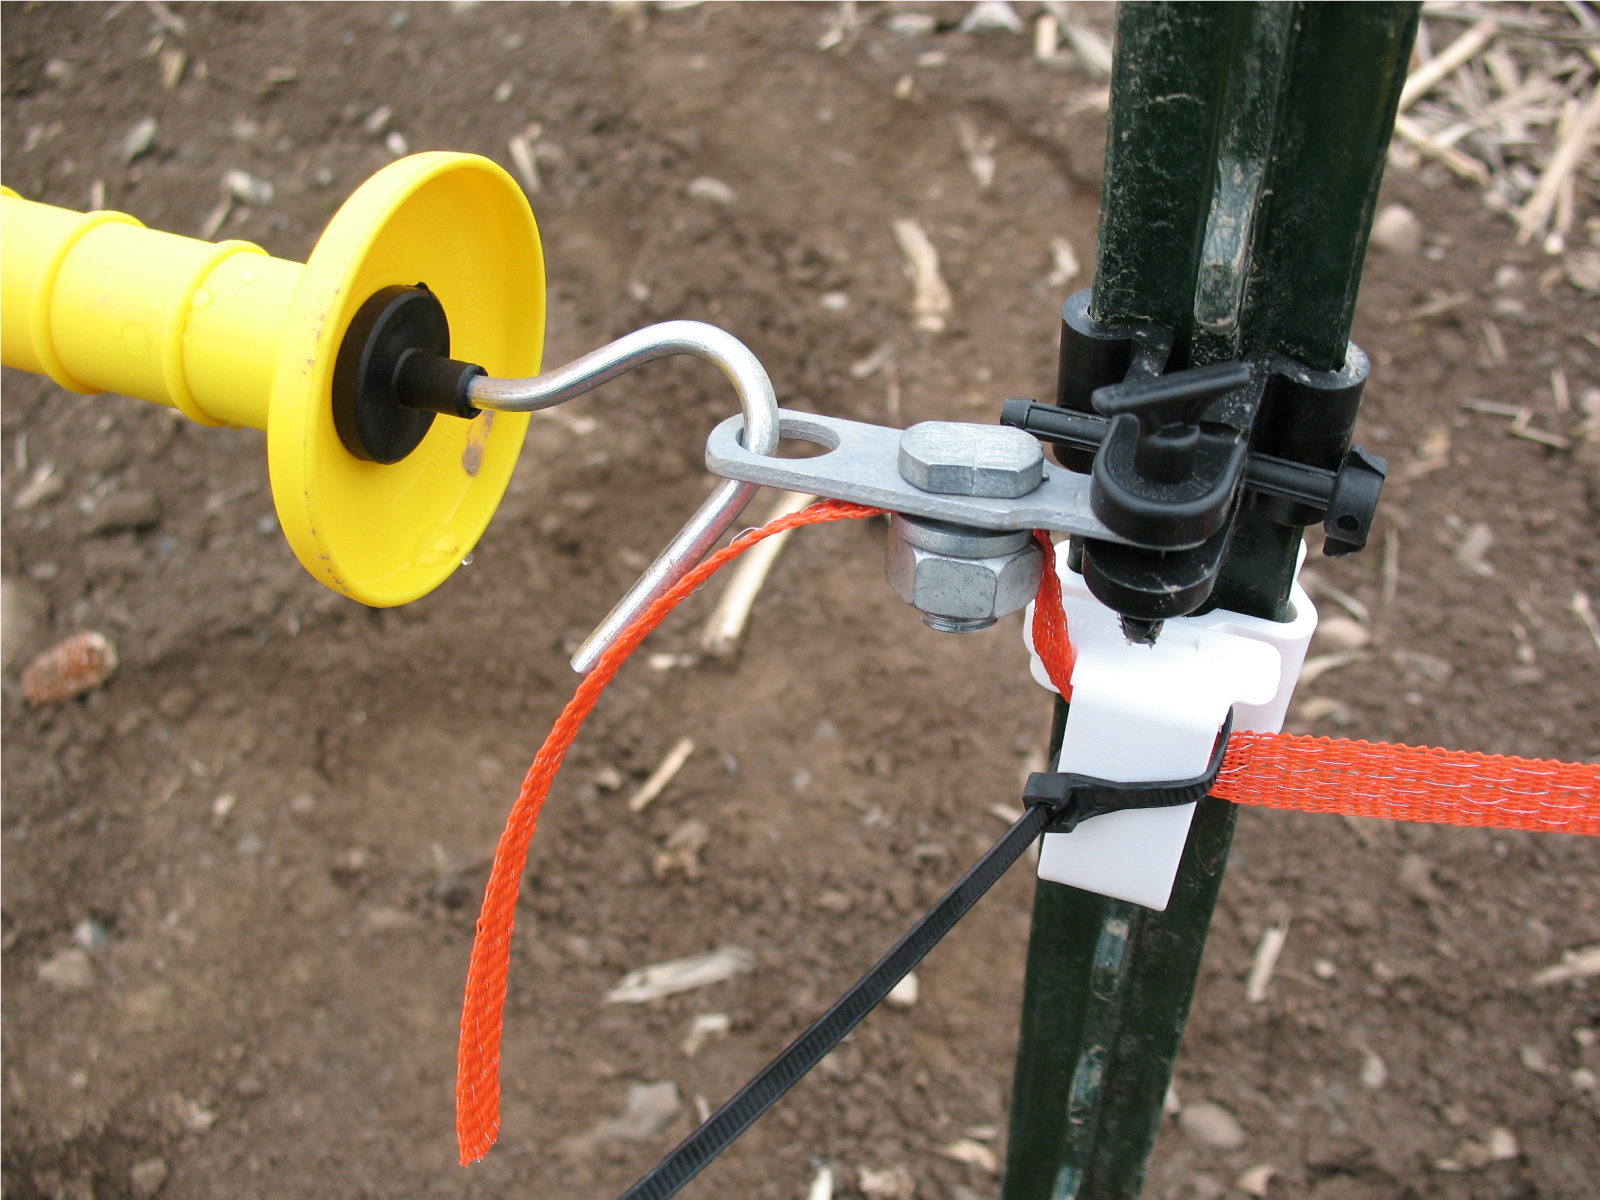
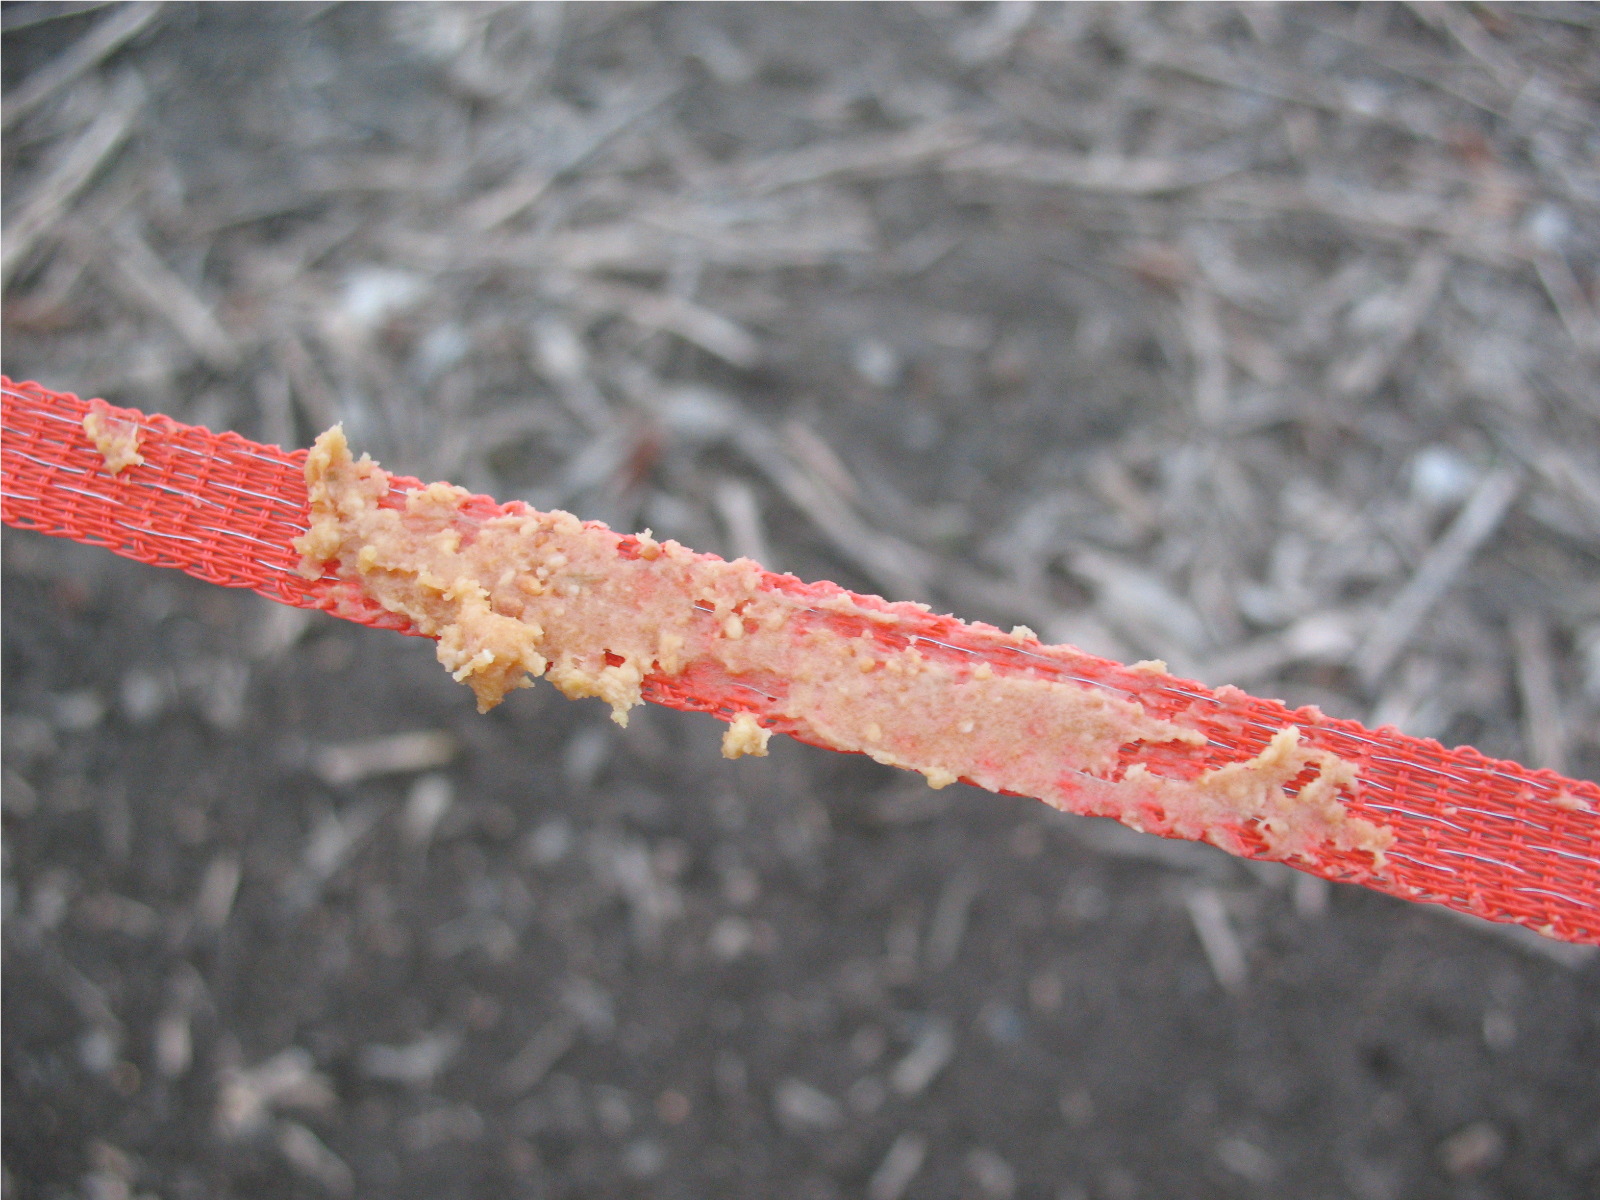
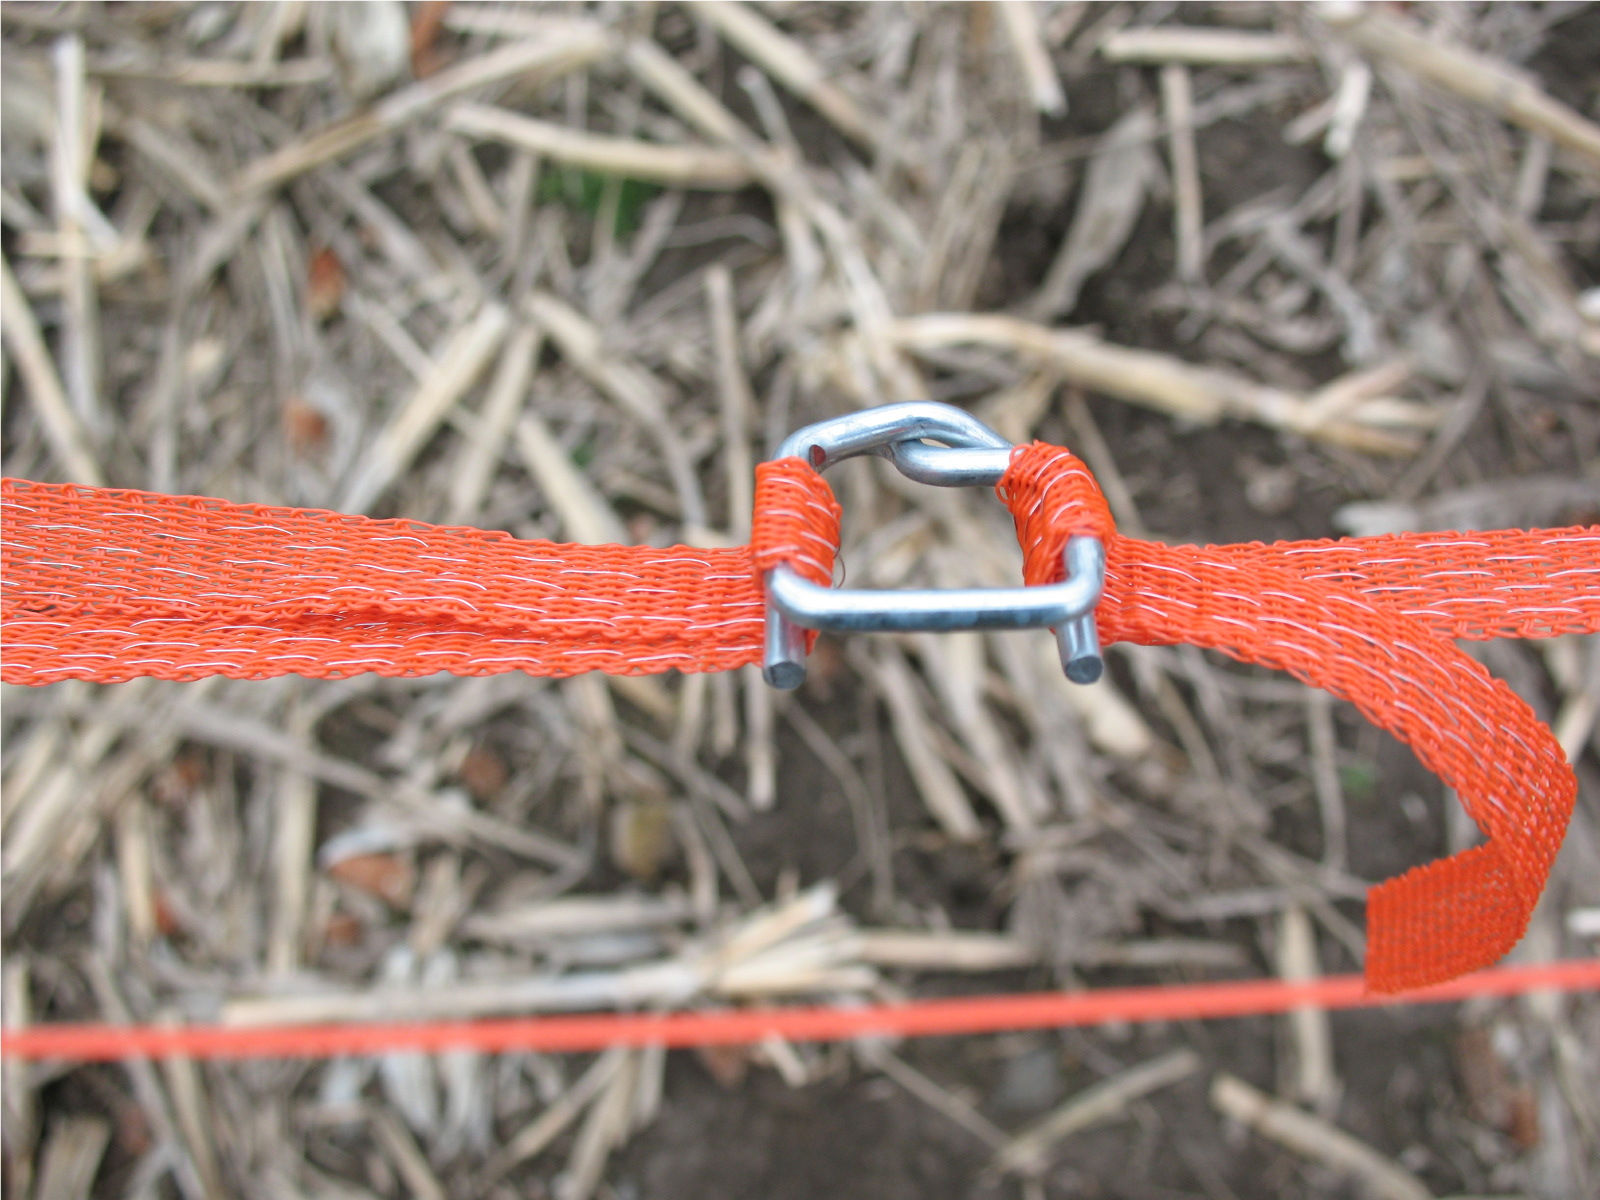
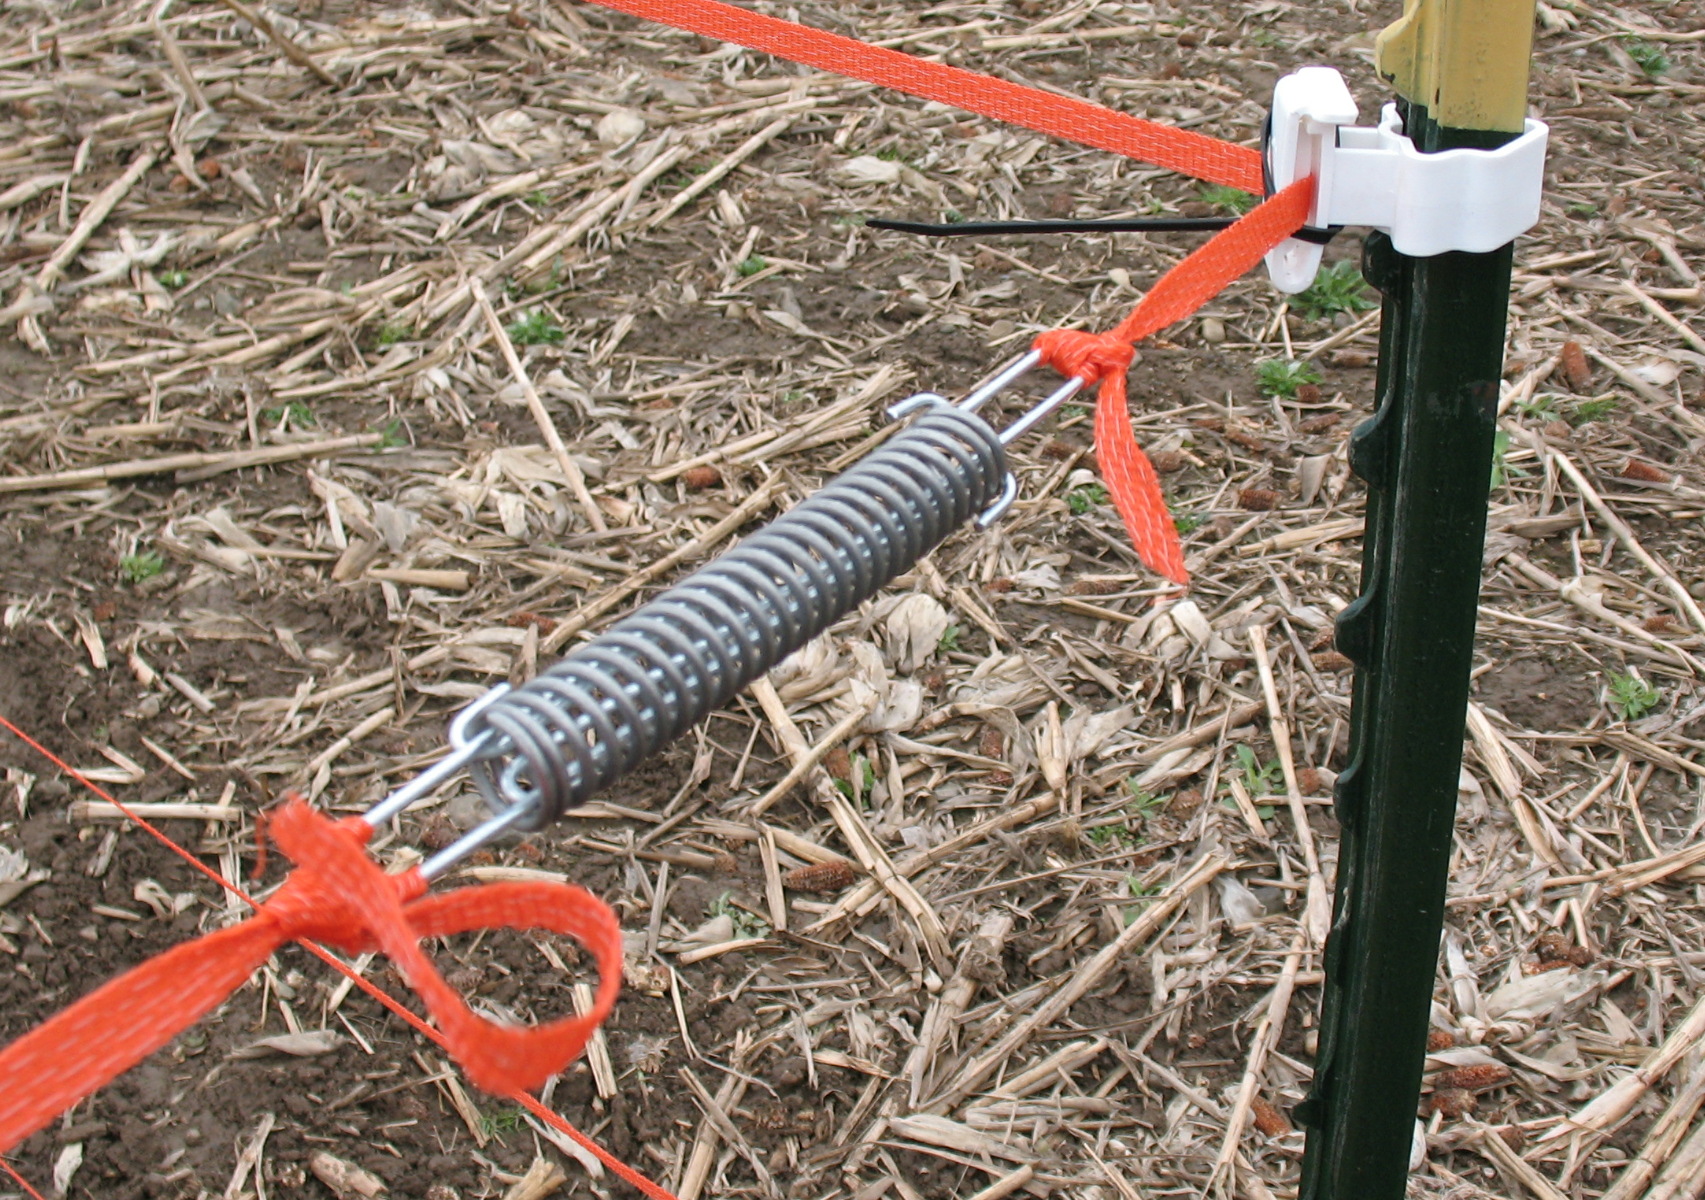
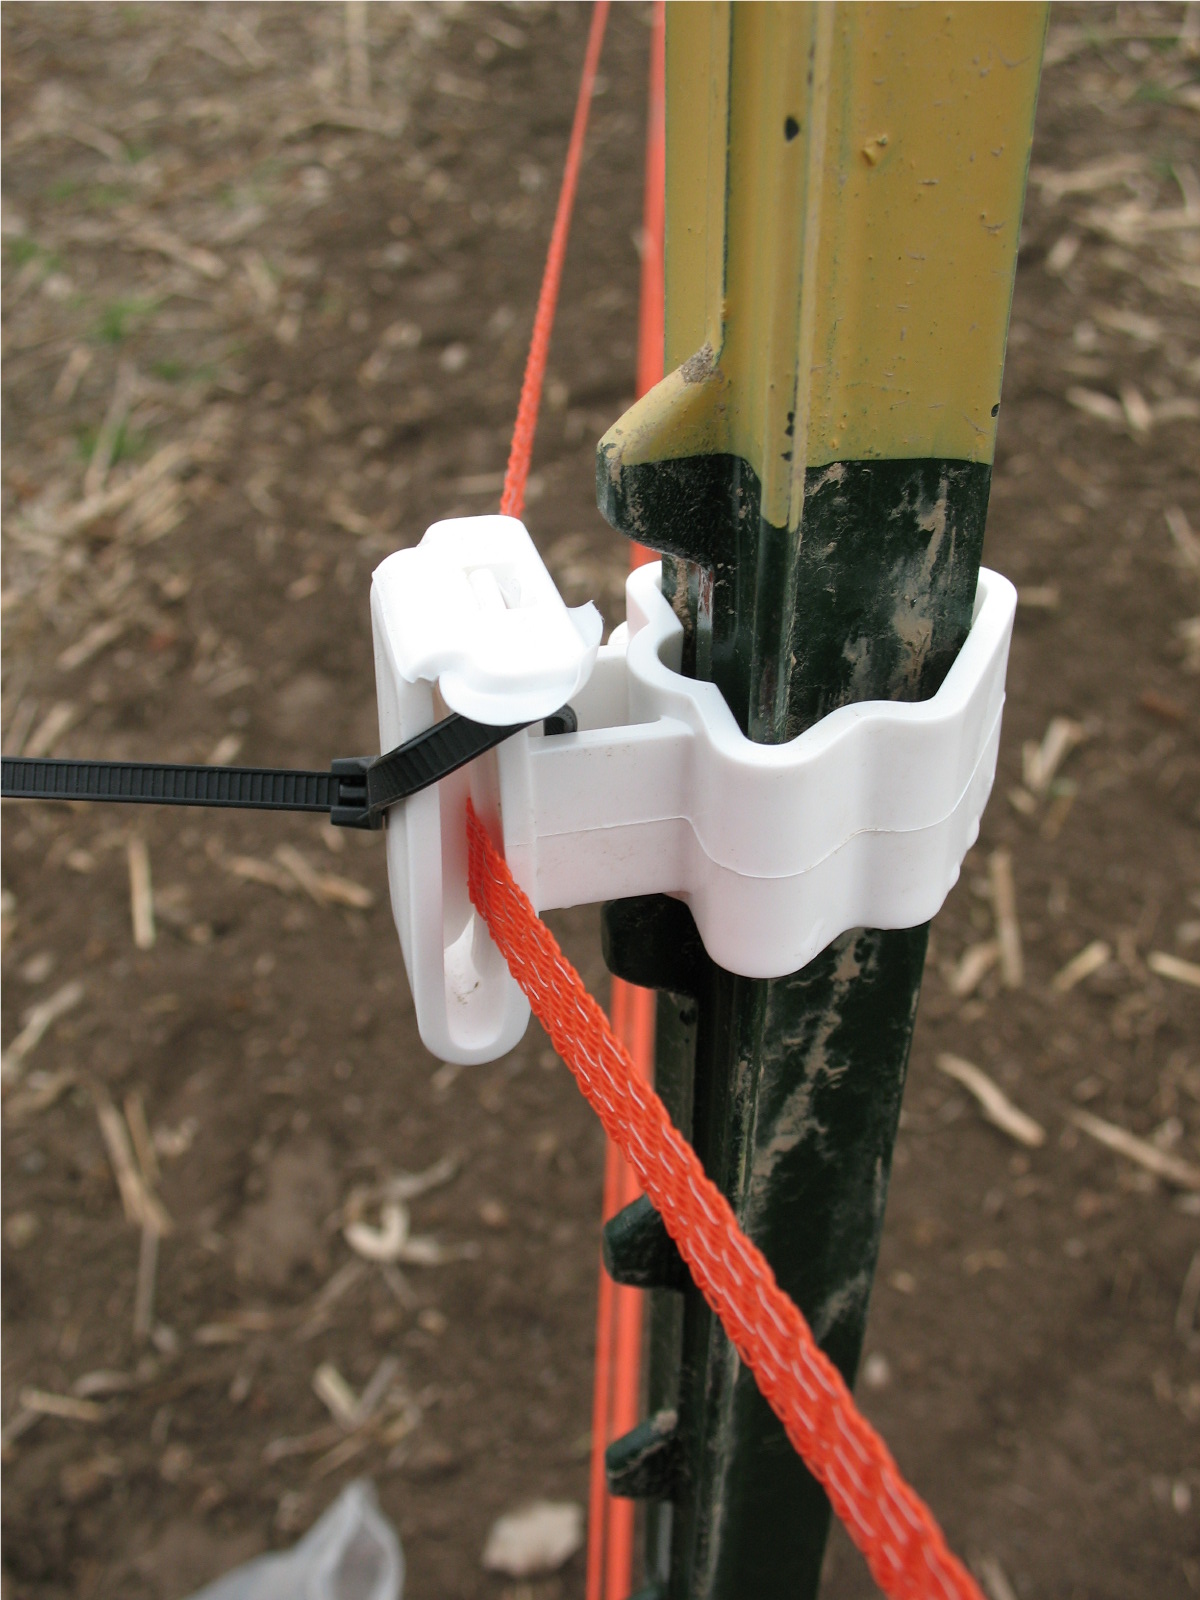
We are using an electric deer fence to cover about 5 acres of land. It has 6 ft steel T-posts for the corners and gates, with bright orange poly-tape lines at 18, 30, and 50 inches (off the ground) supported on 5 ft fiberglass rods. We don't have snazzy pictures of that because it was just too wet today to risk the camera in the fields!
Near the hedgerow we have 2 additional low wires at 5 and 10 inches to (hopefully) keep out the bunnies and groundhogs, in case Arlo fails at this rodent-eradication job.
We bought the components largely from Wellscroft (up in NH) and Kencove. We were only a little disappointed... Kencove had a sale on fiberglass rods, with the catch being that they were hot pink. We thought this would be extra snazzy (a blaze orange and hot pink fence!), but fortunately for our neighbors, they sent boring old white posts instead...
In total, we are fencing 3000 linear feet with a single, electrified fence, with 3 to 5 lines and 2 access gates. Should deer pressure get really bad, we would add a second fence line about 5 feet in front of this first line (deer have some depth perception issues, so the double fence really can deter them). We aren't sure how bad the pressure is here, but feel like we can't risk not fencing in the produce, since one night of busy, voracious deer could wipe out beds worth of crops. However, we are not convinced that deer pressure is so high here the we would need the double fence up front. Because of this uncertainty, we made sure to get a fence that will be easy to change to adapt to our needs (and in the future if we don't need it, it will be great for livestock).
 For the installation, this is what we did...
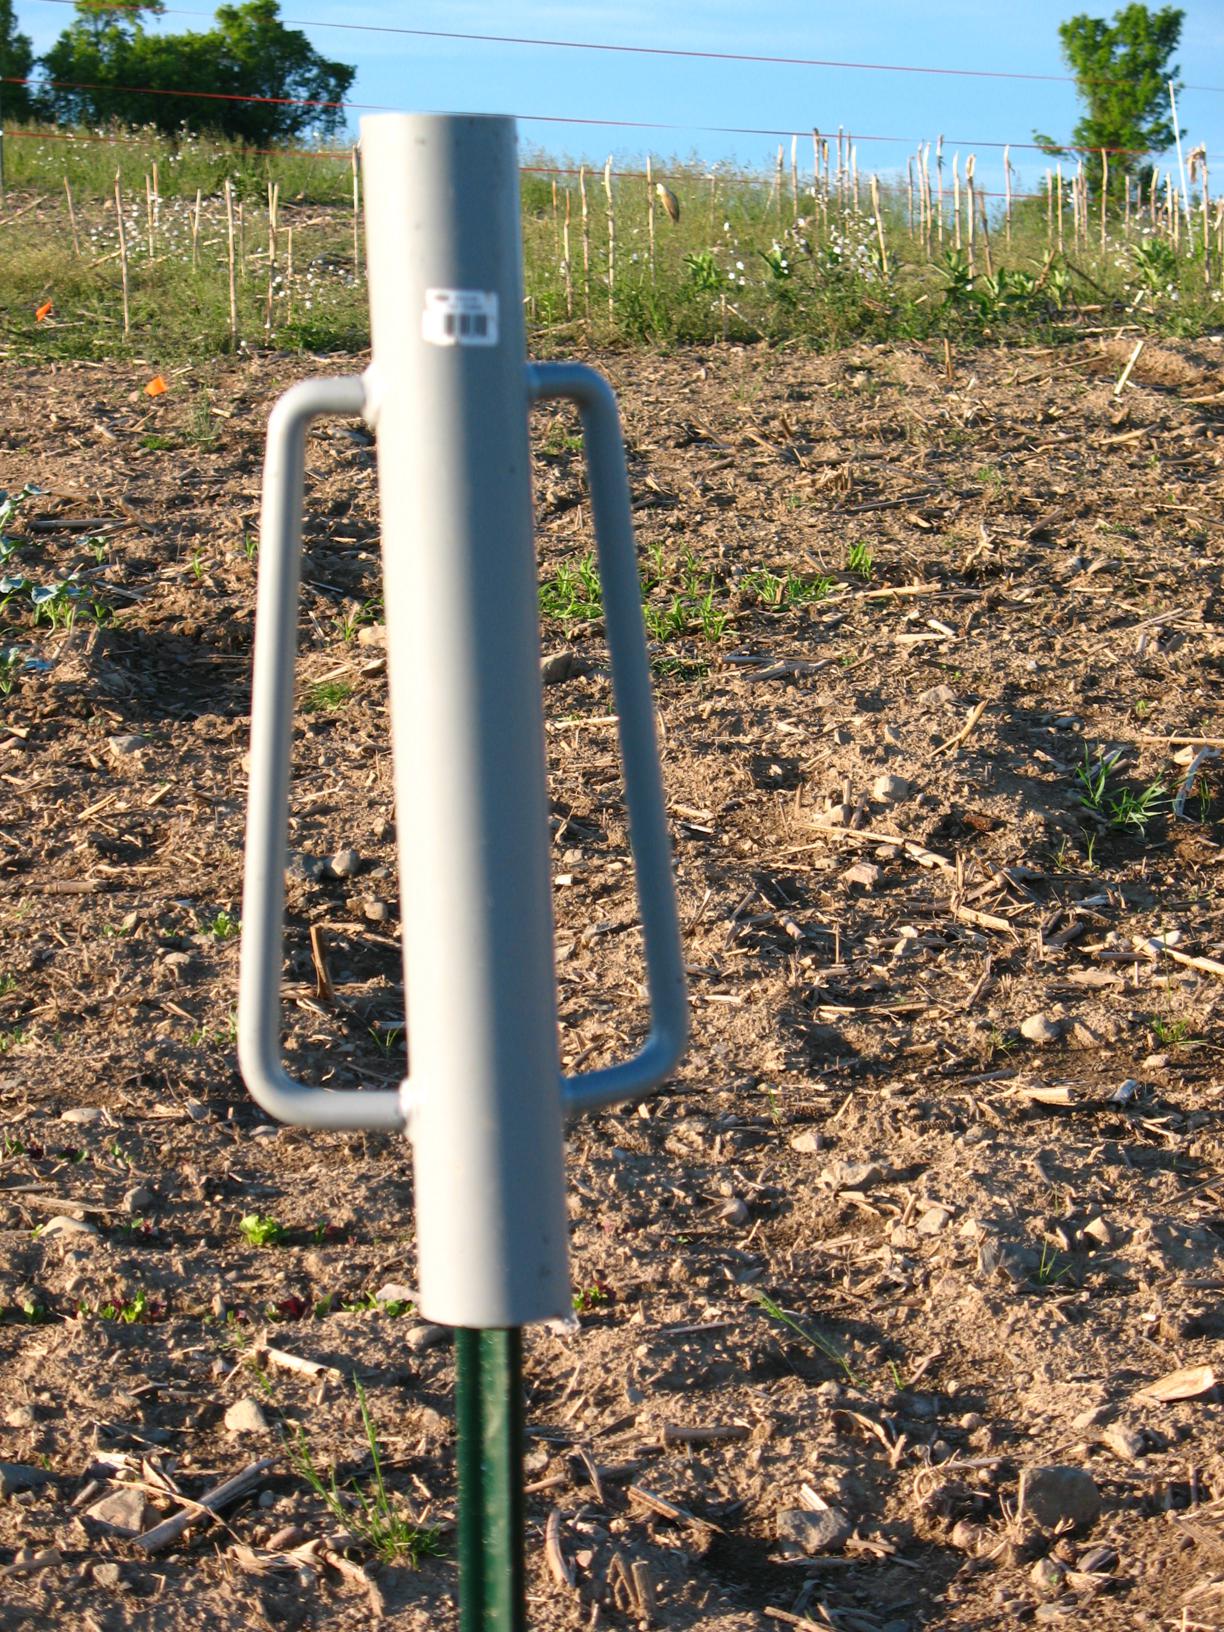
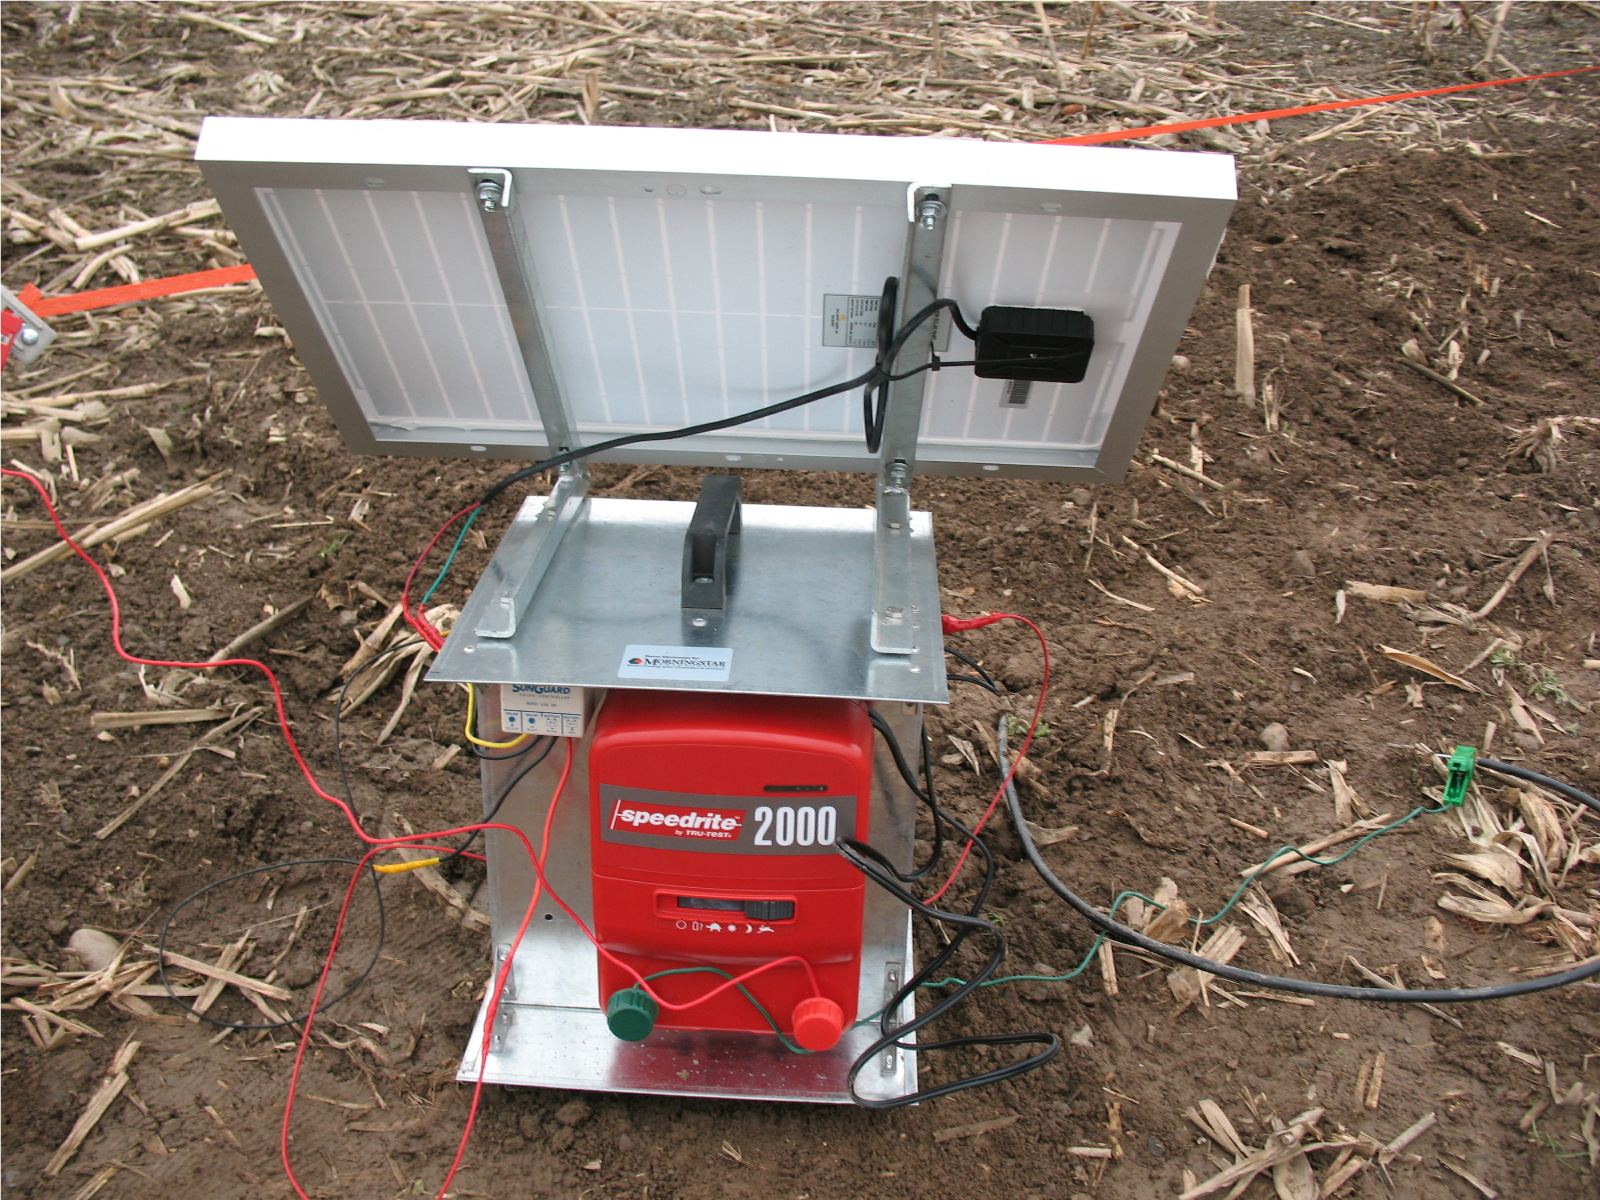
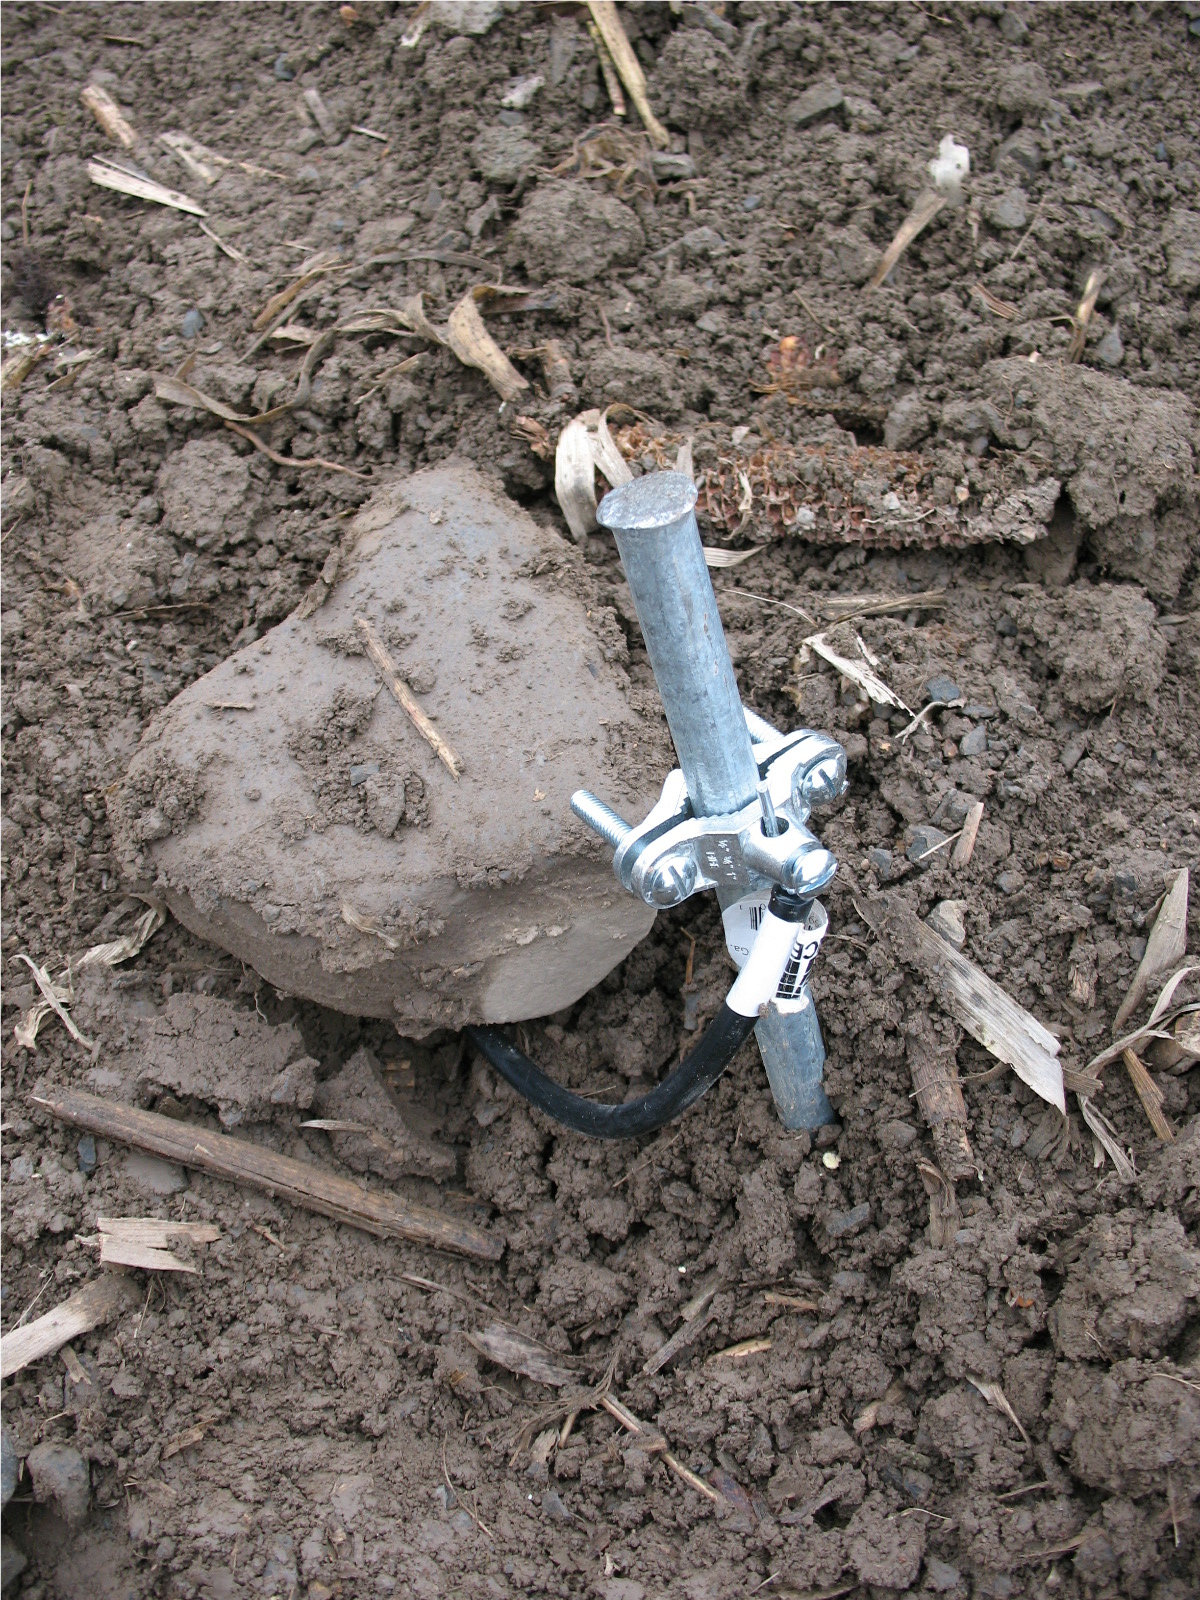
Step One--get a battery and get it charged up while you assemble the charger/stand/solar panel assembly. We chose this charger on the recommendation of Dave at Wellscroft, since it can run off the battery (or solar panel combo), OR be plugged into regular house current. Right now, we don't have power in the field, but we hope to have power out there in 3 to 5 years. This charger is a little bigger than what we need right now, but it is sized perfect for when we have some animals on the farm.

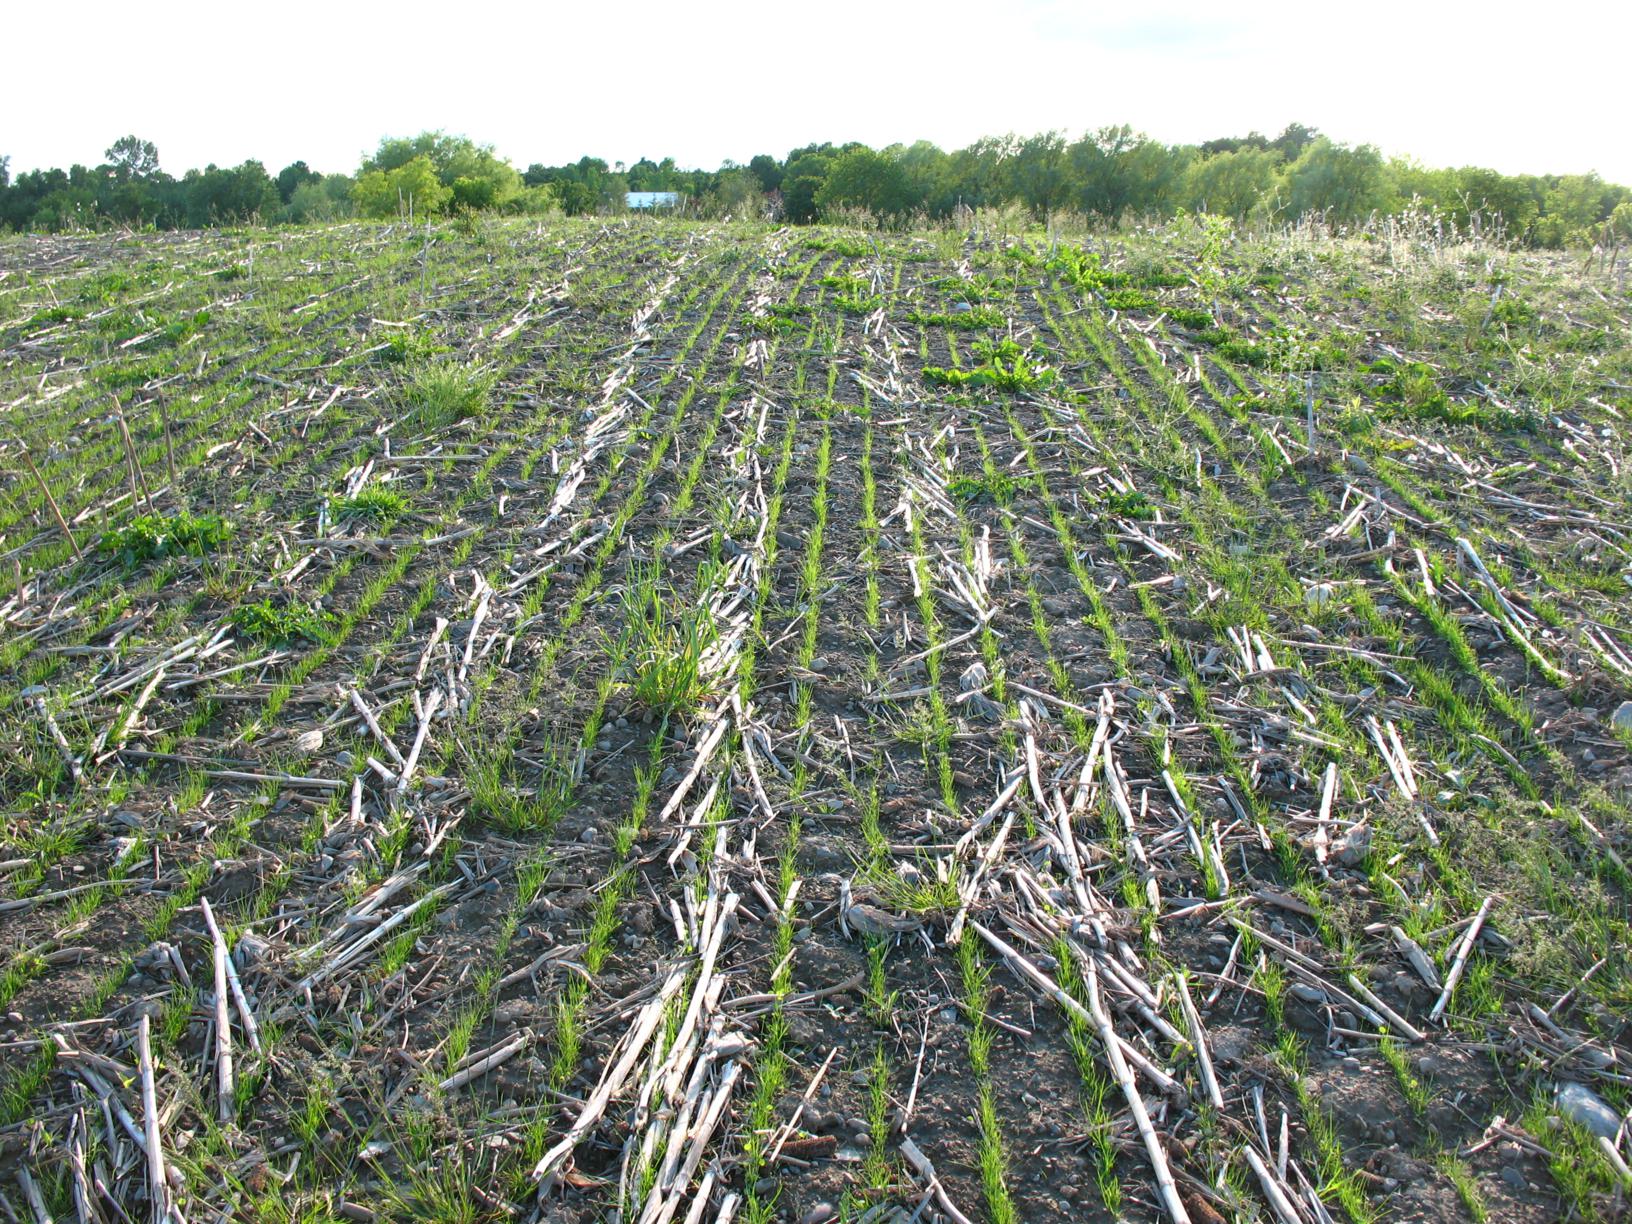
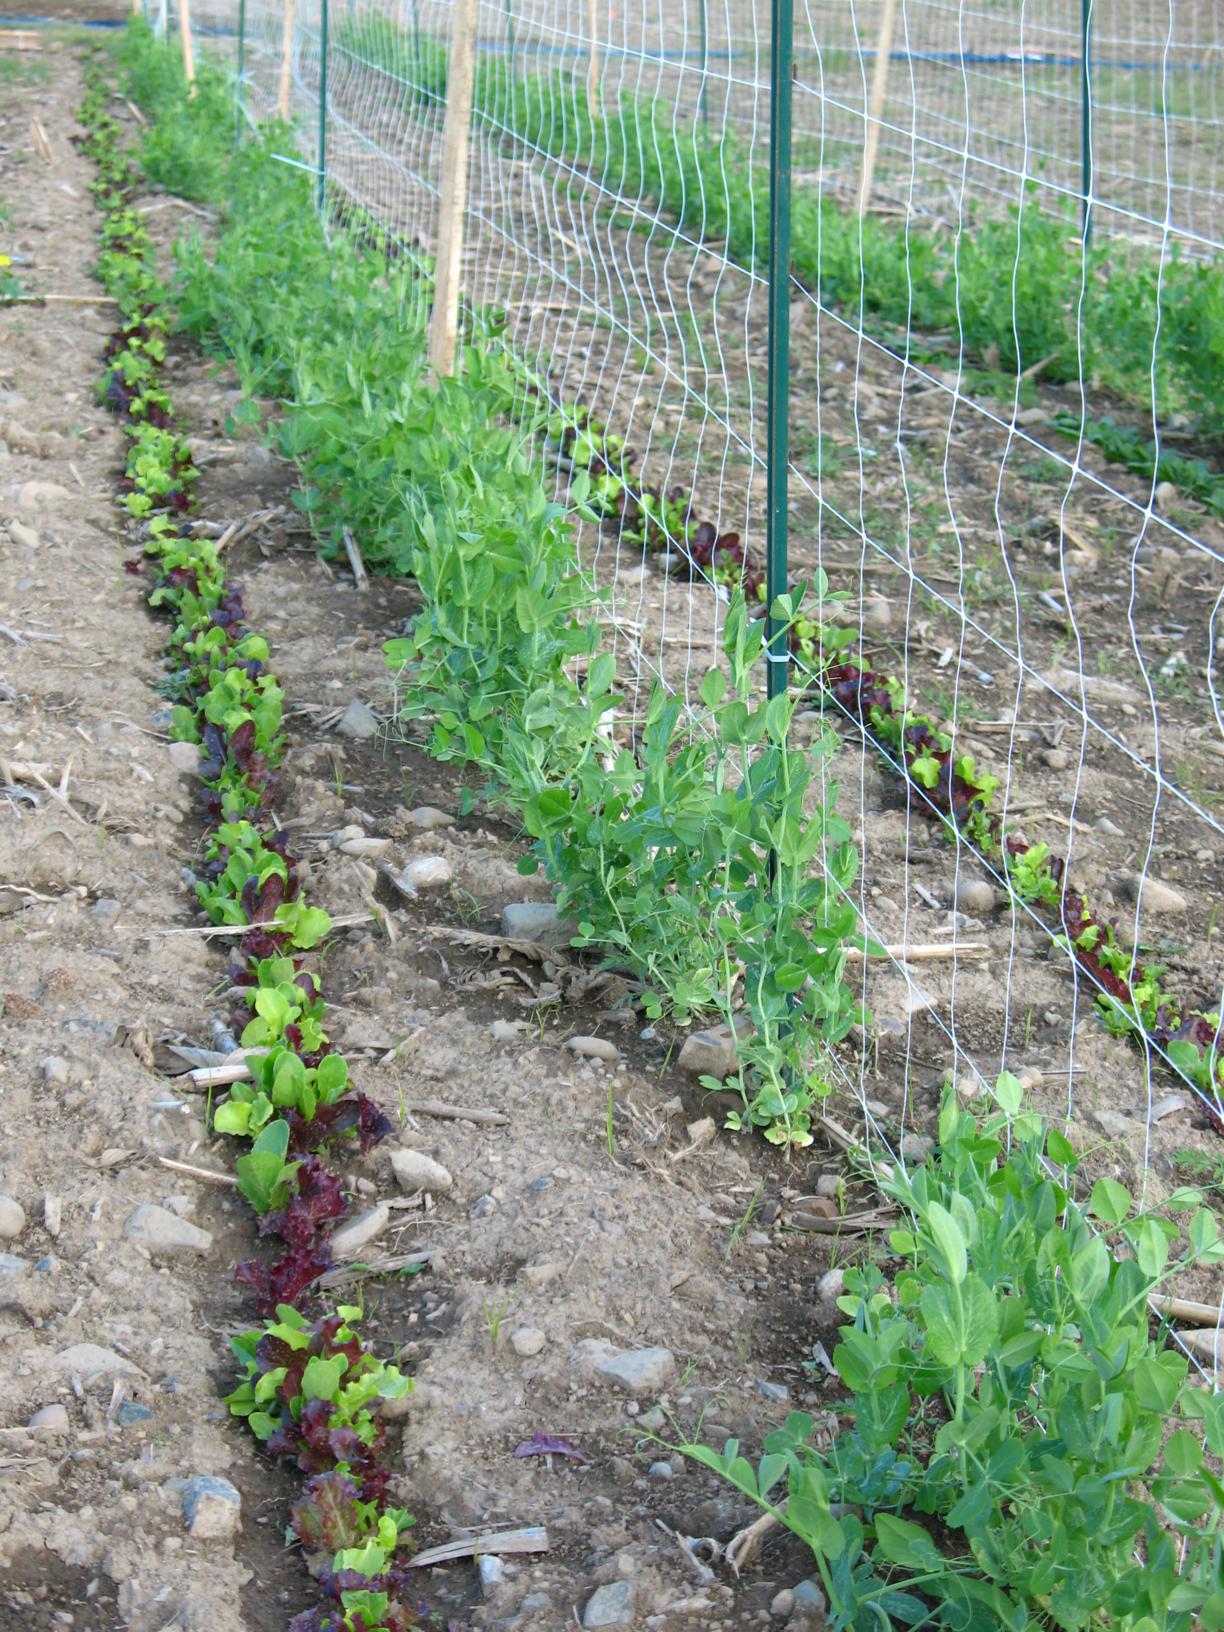
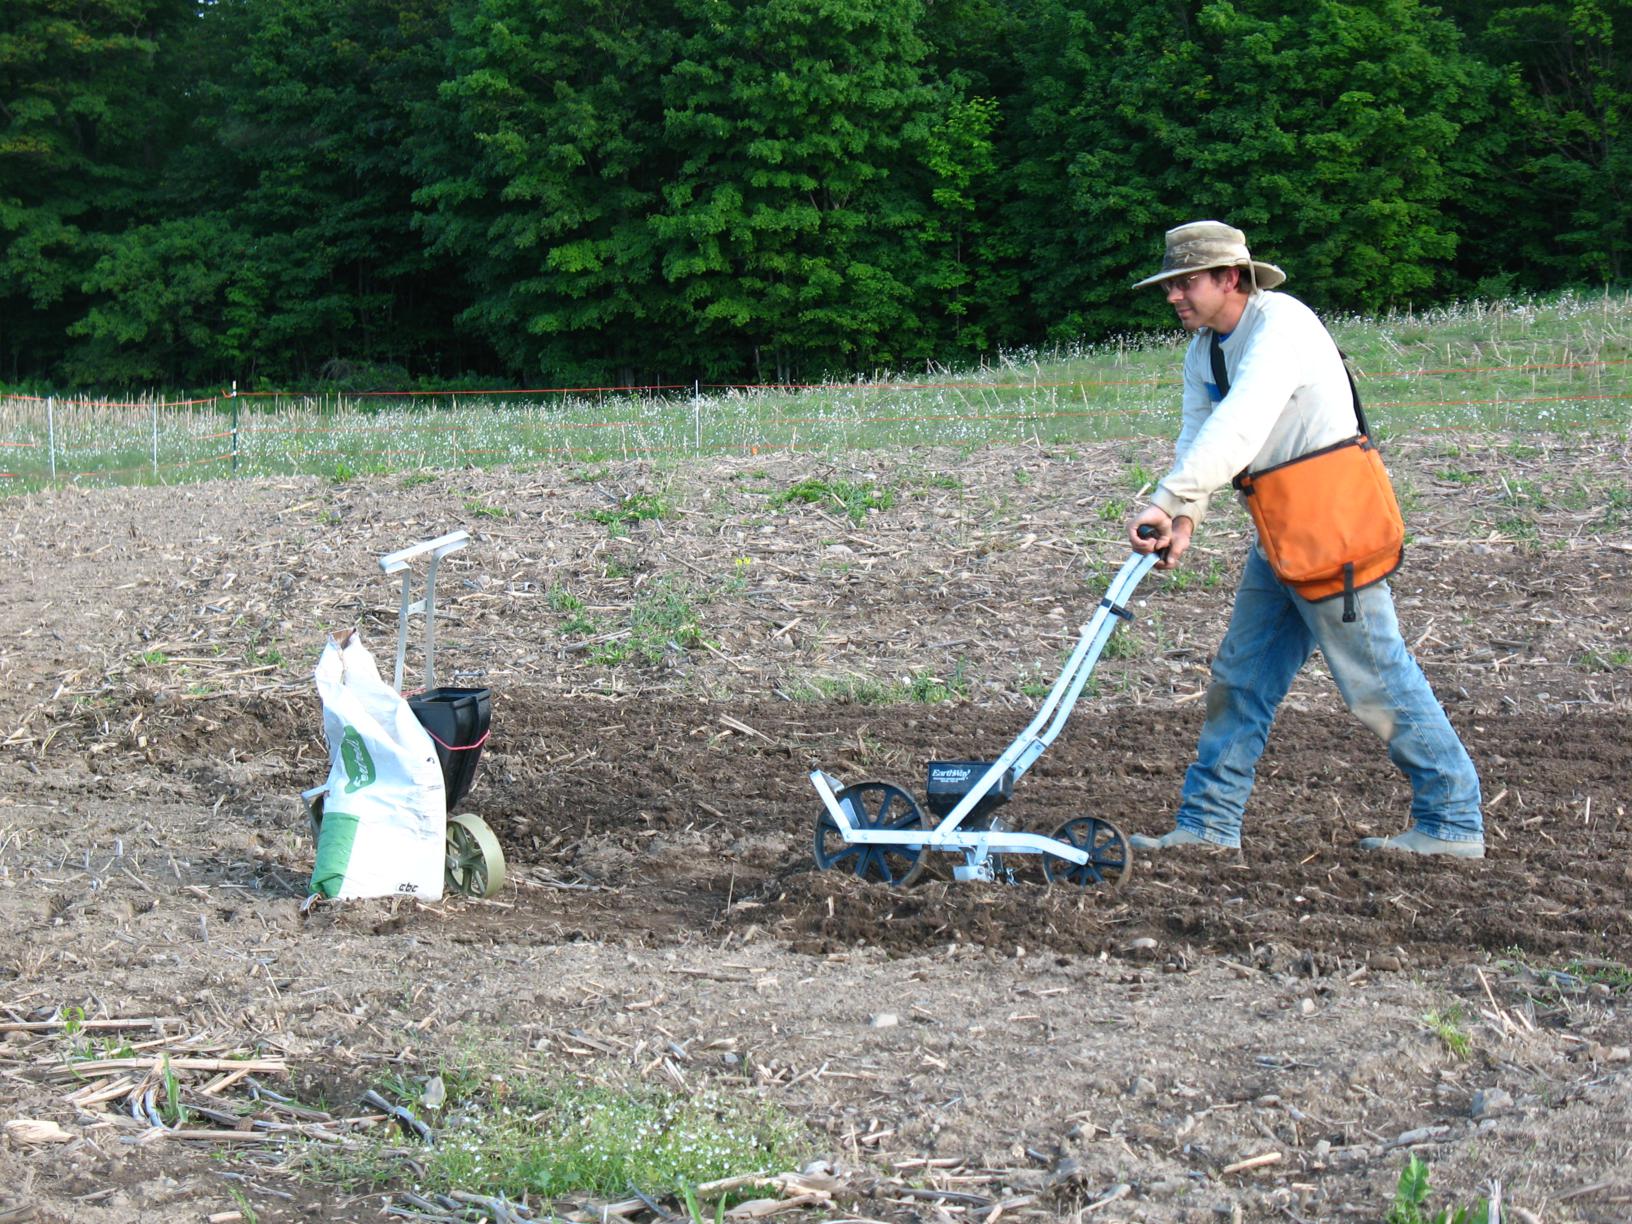
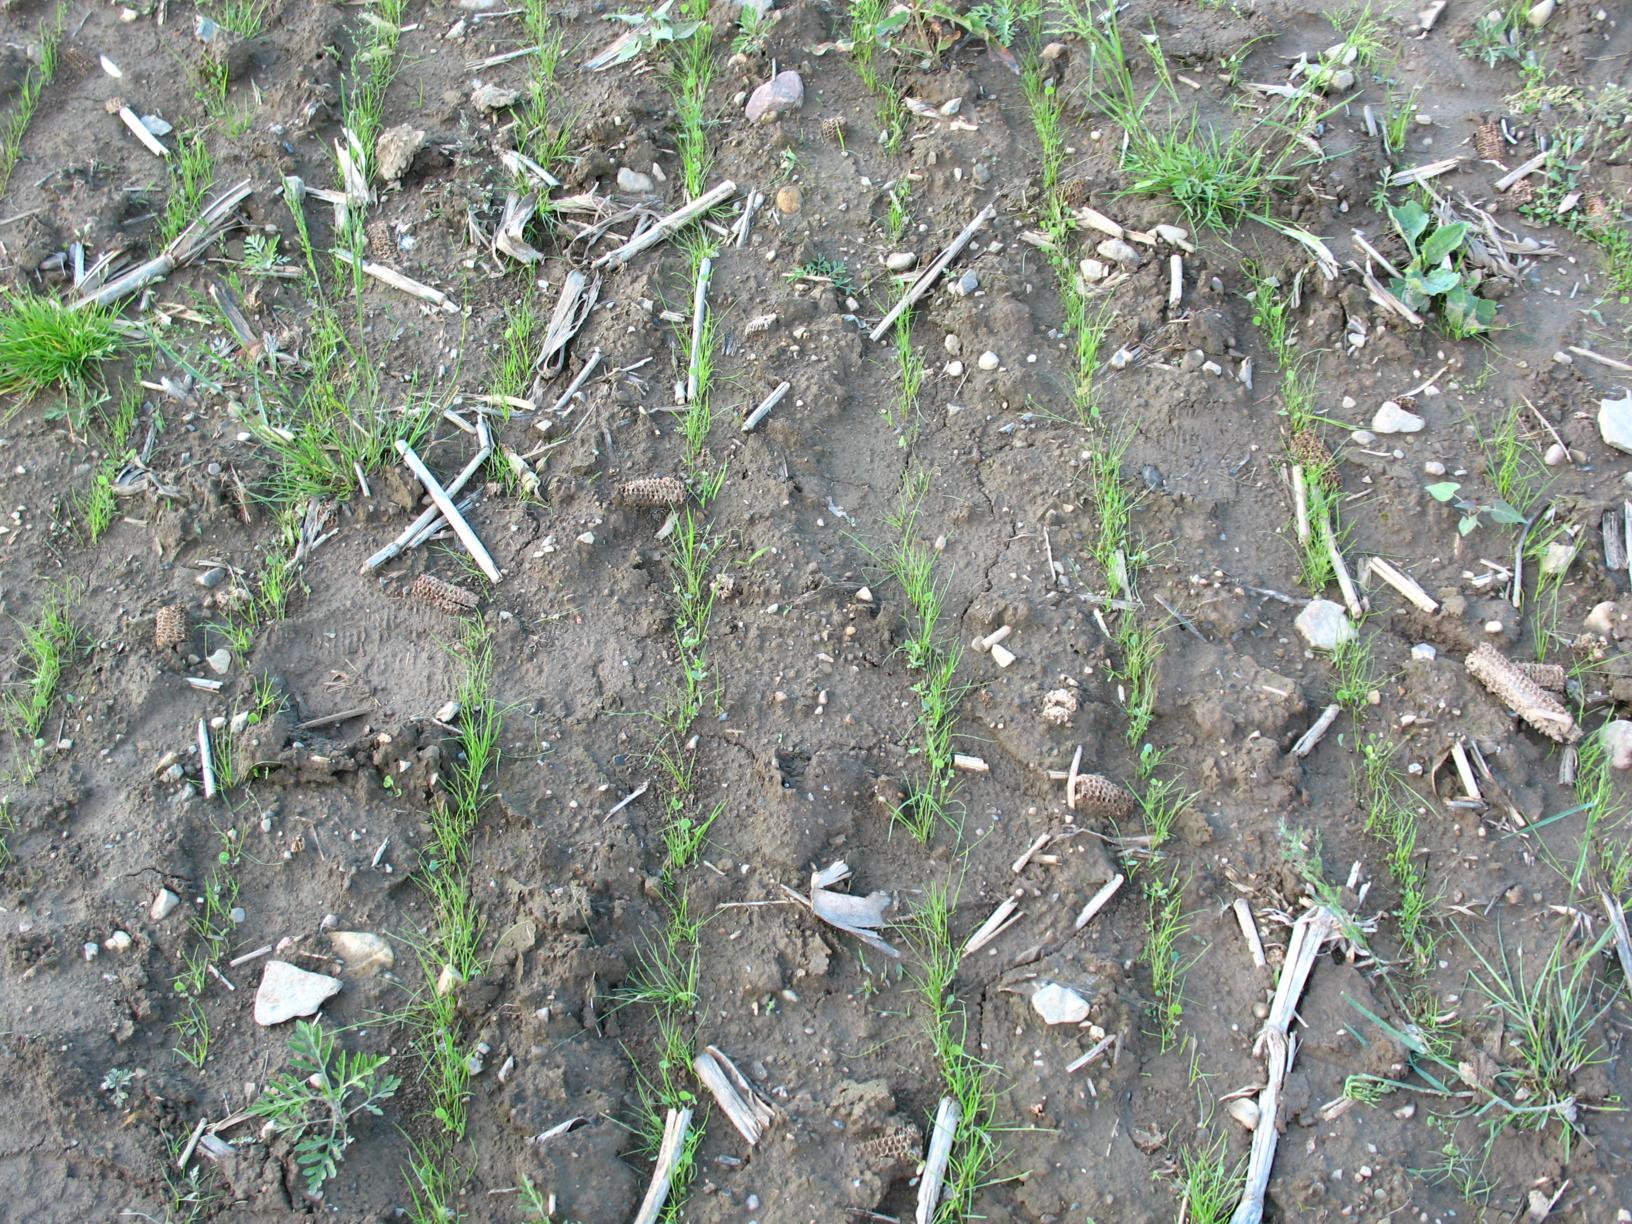
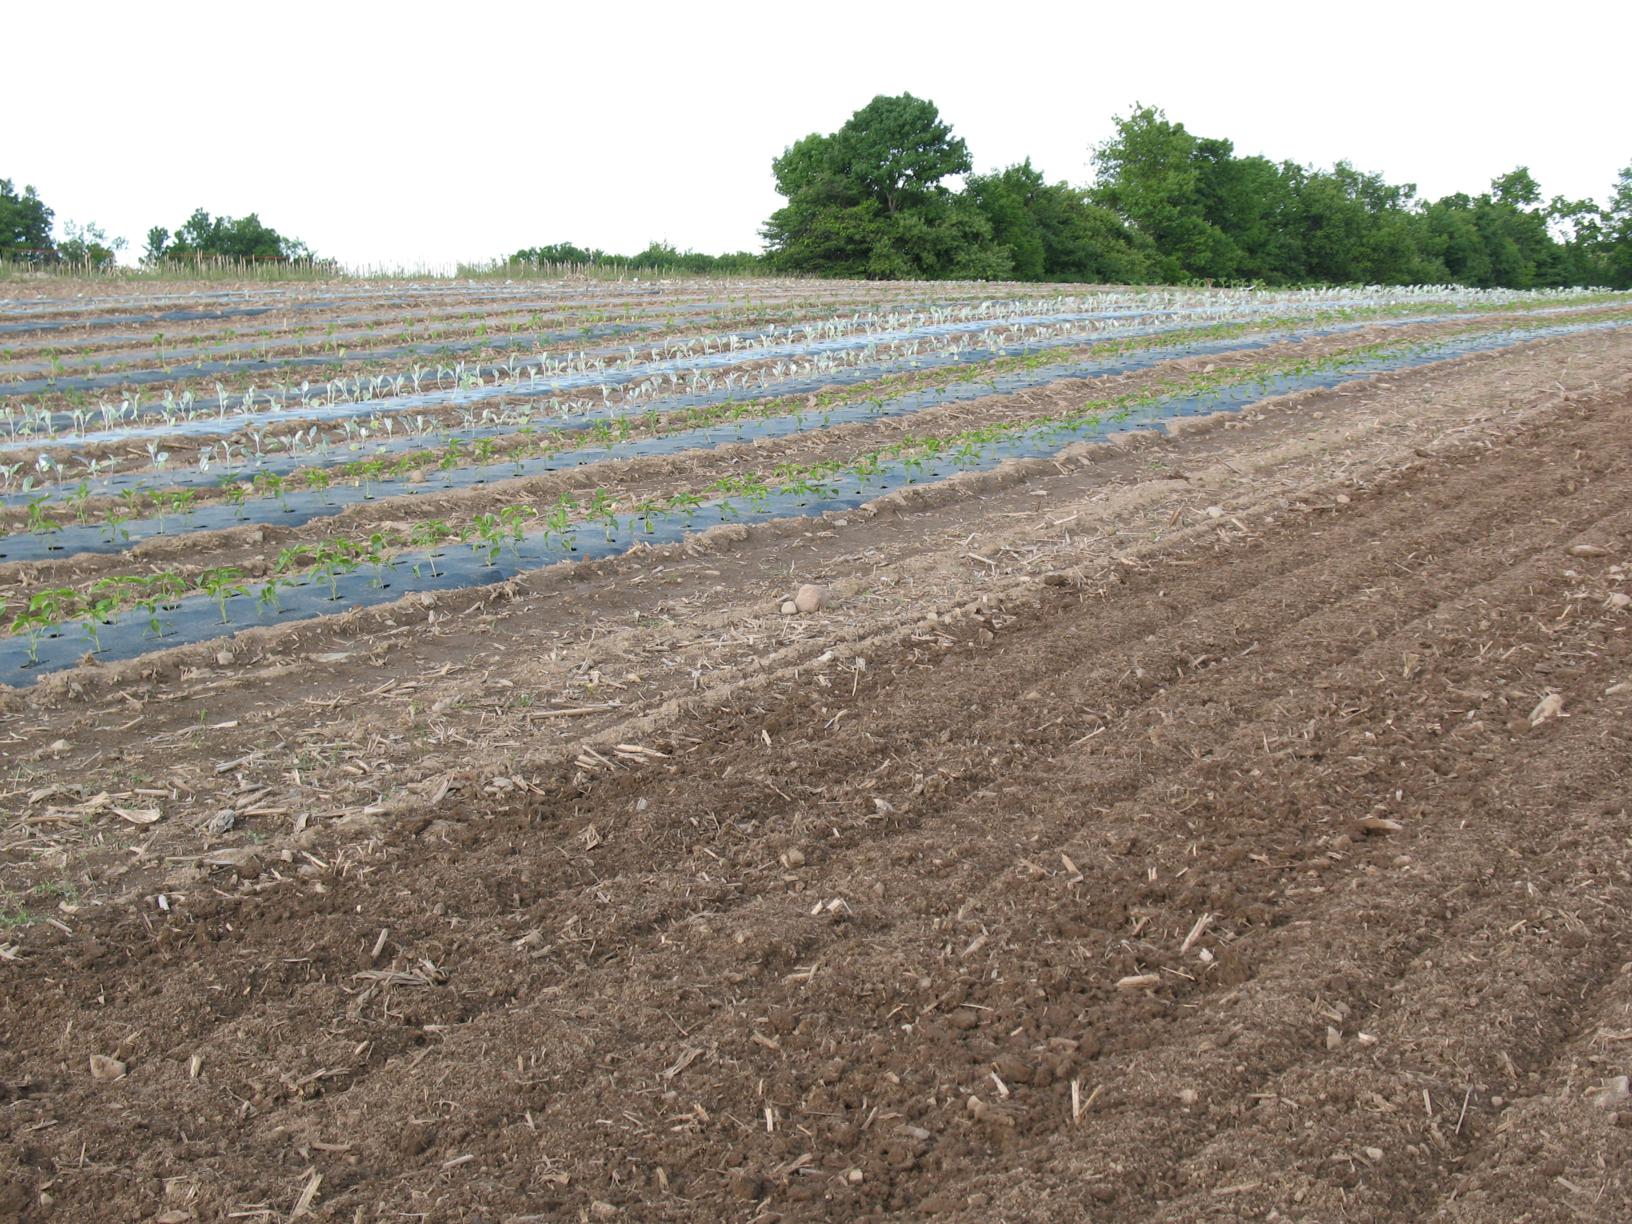
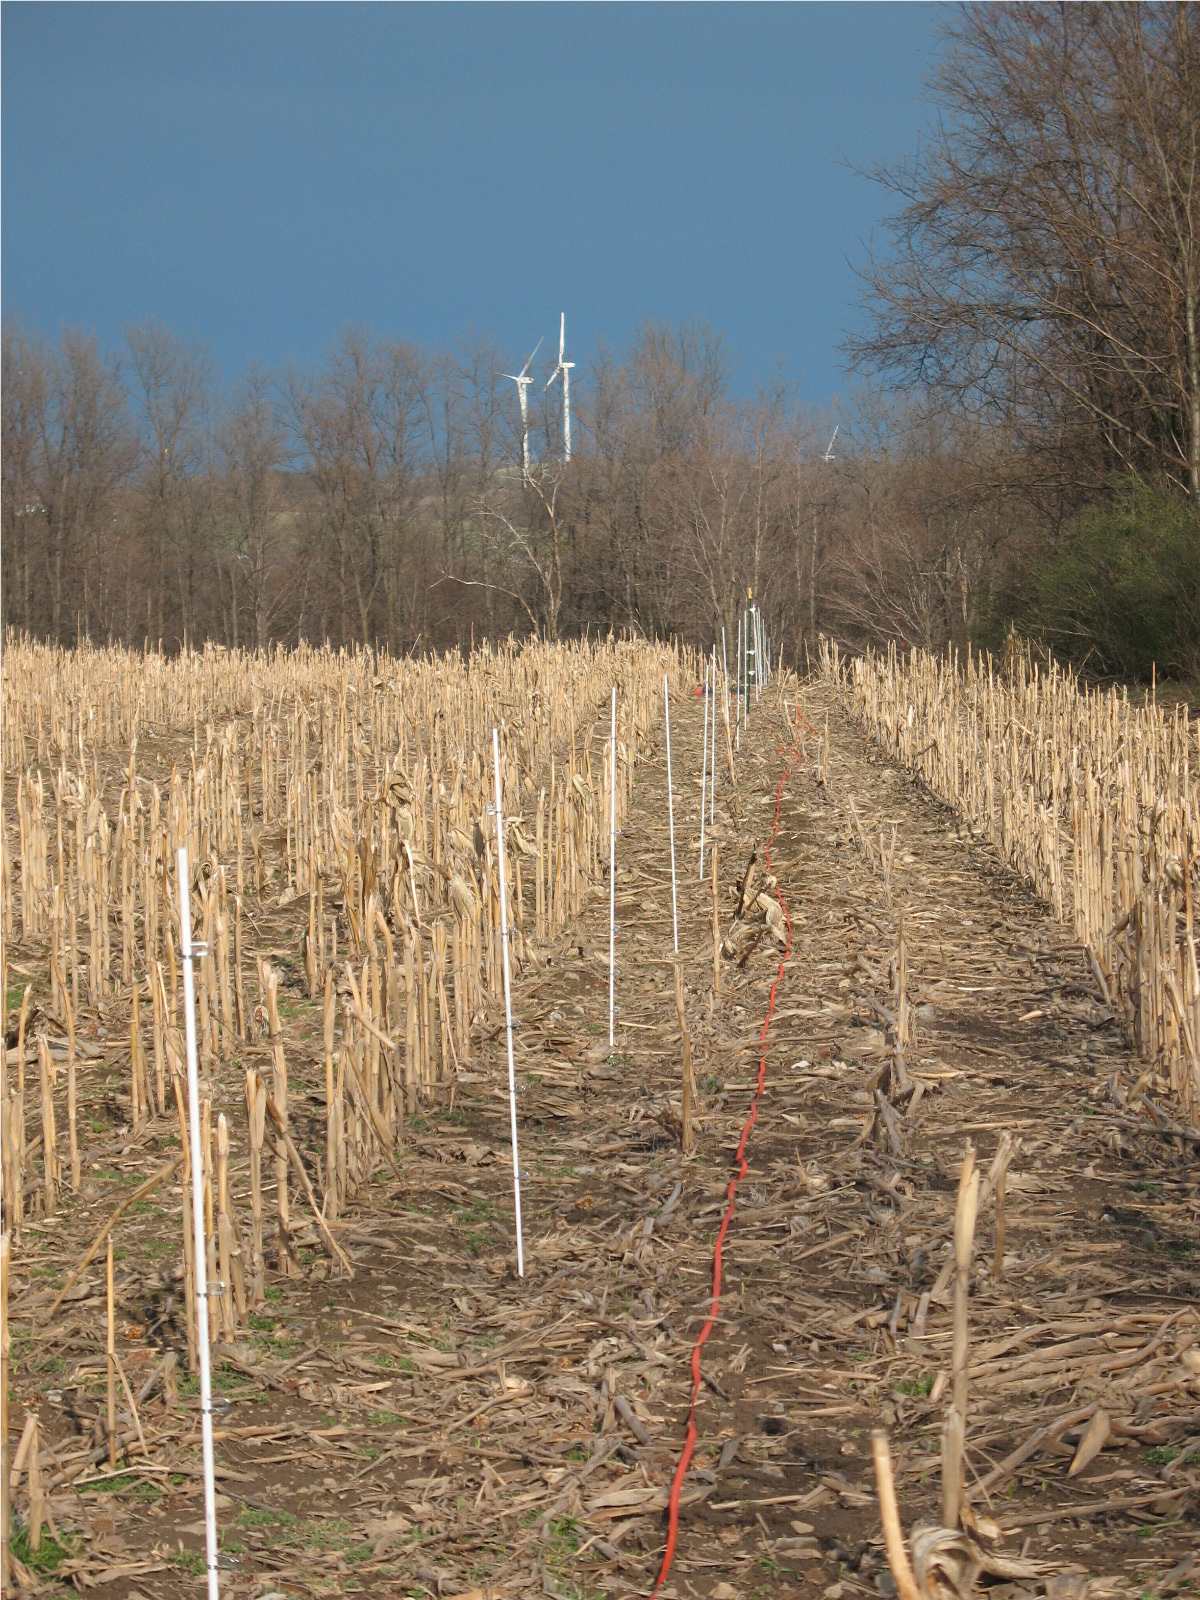
Step Two--clear out all the annoying corn stalks that will snag on your fence lines. We hope to reseed this to a low clover/grass mix eventually.

Step Three--prepare all the posts/rods for the fence. I *hate* fiberglass (it gives me hives), but boy are these rods cheap (so we went with the fiberglass and the little squeeze-on metal hooks).

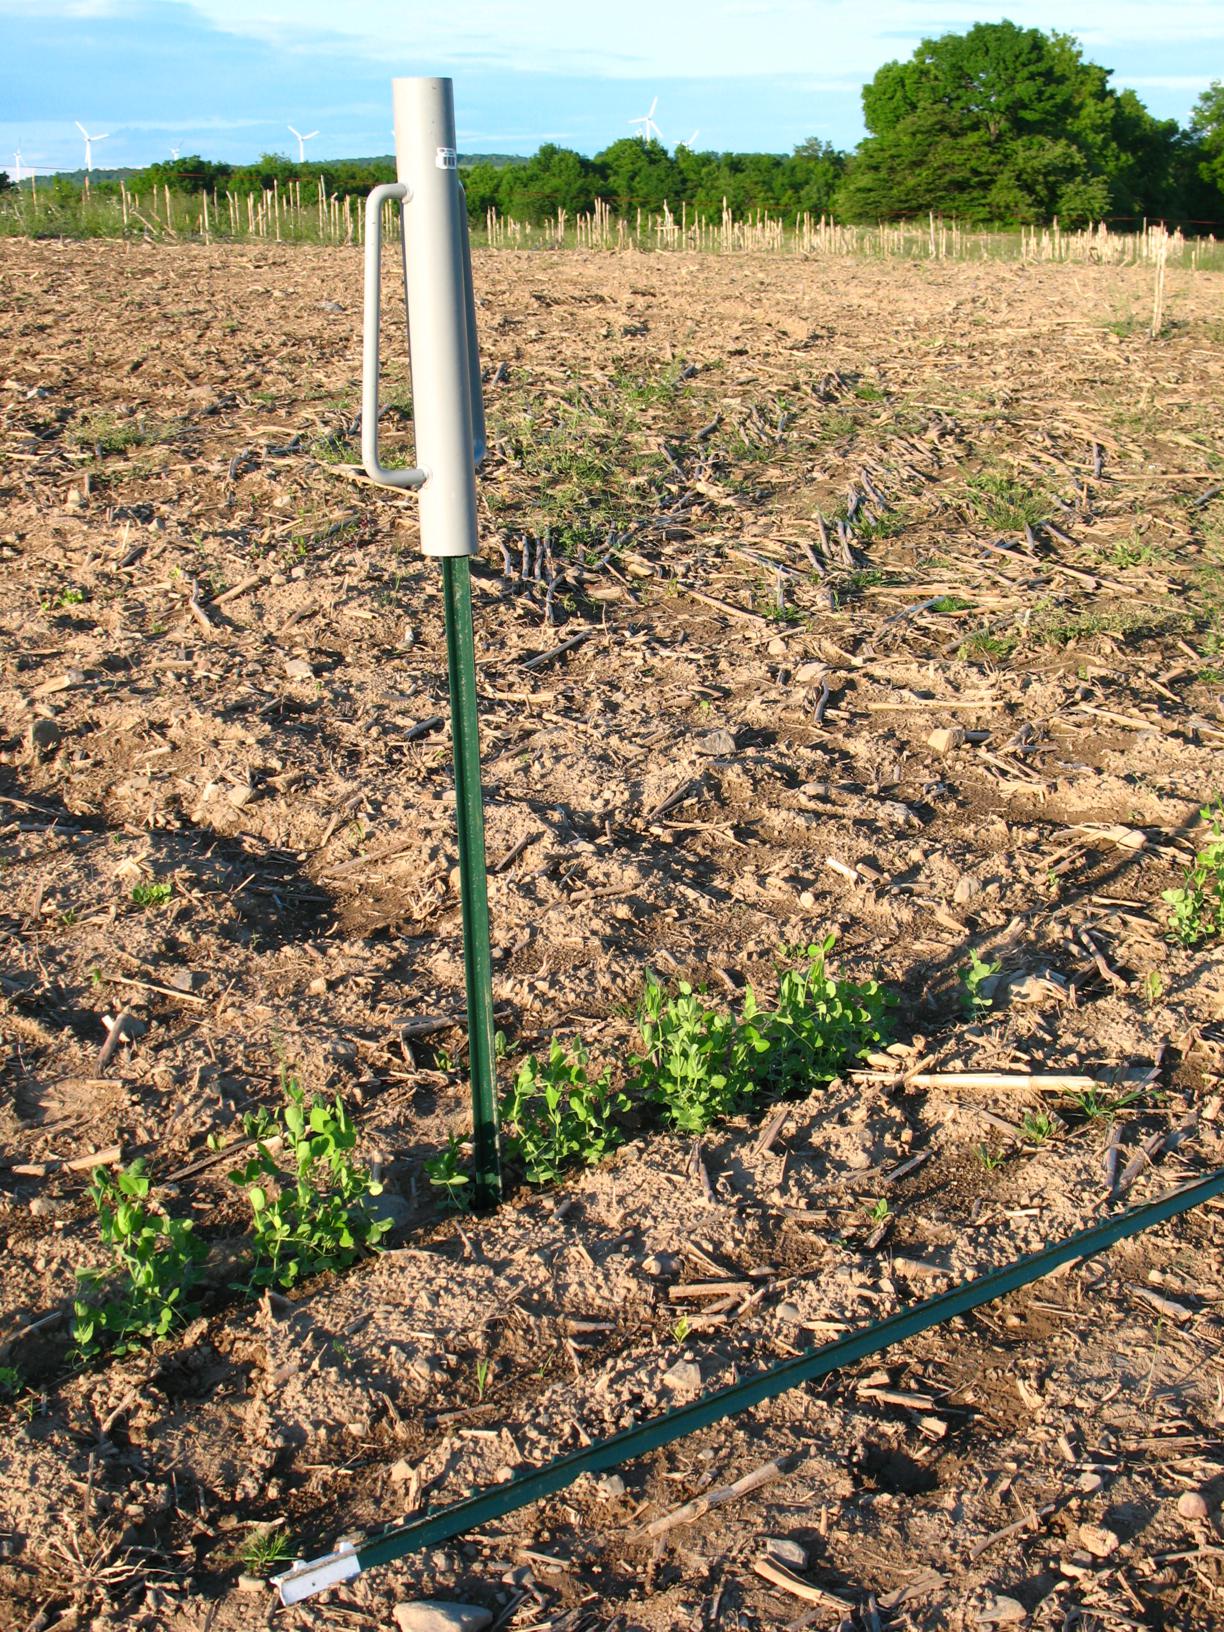
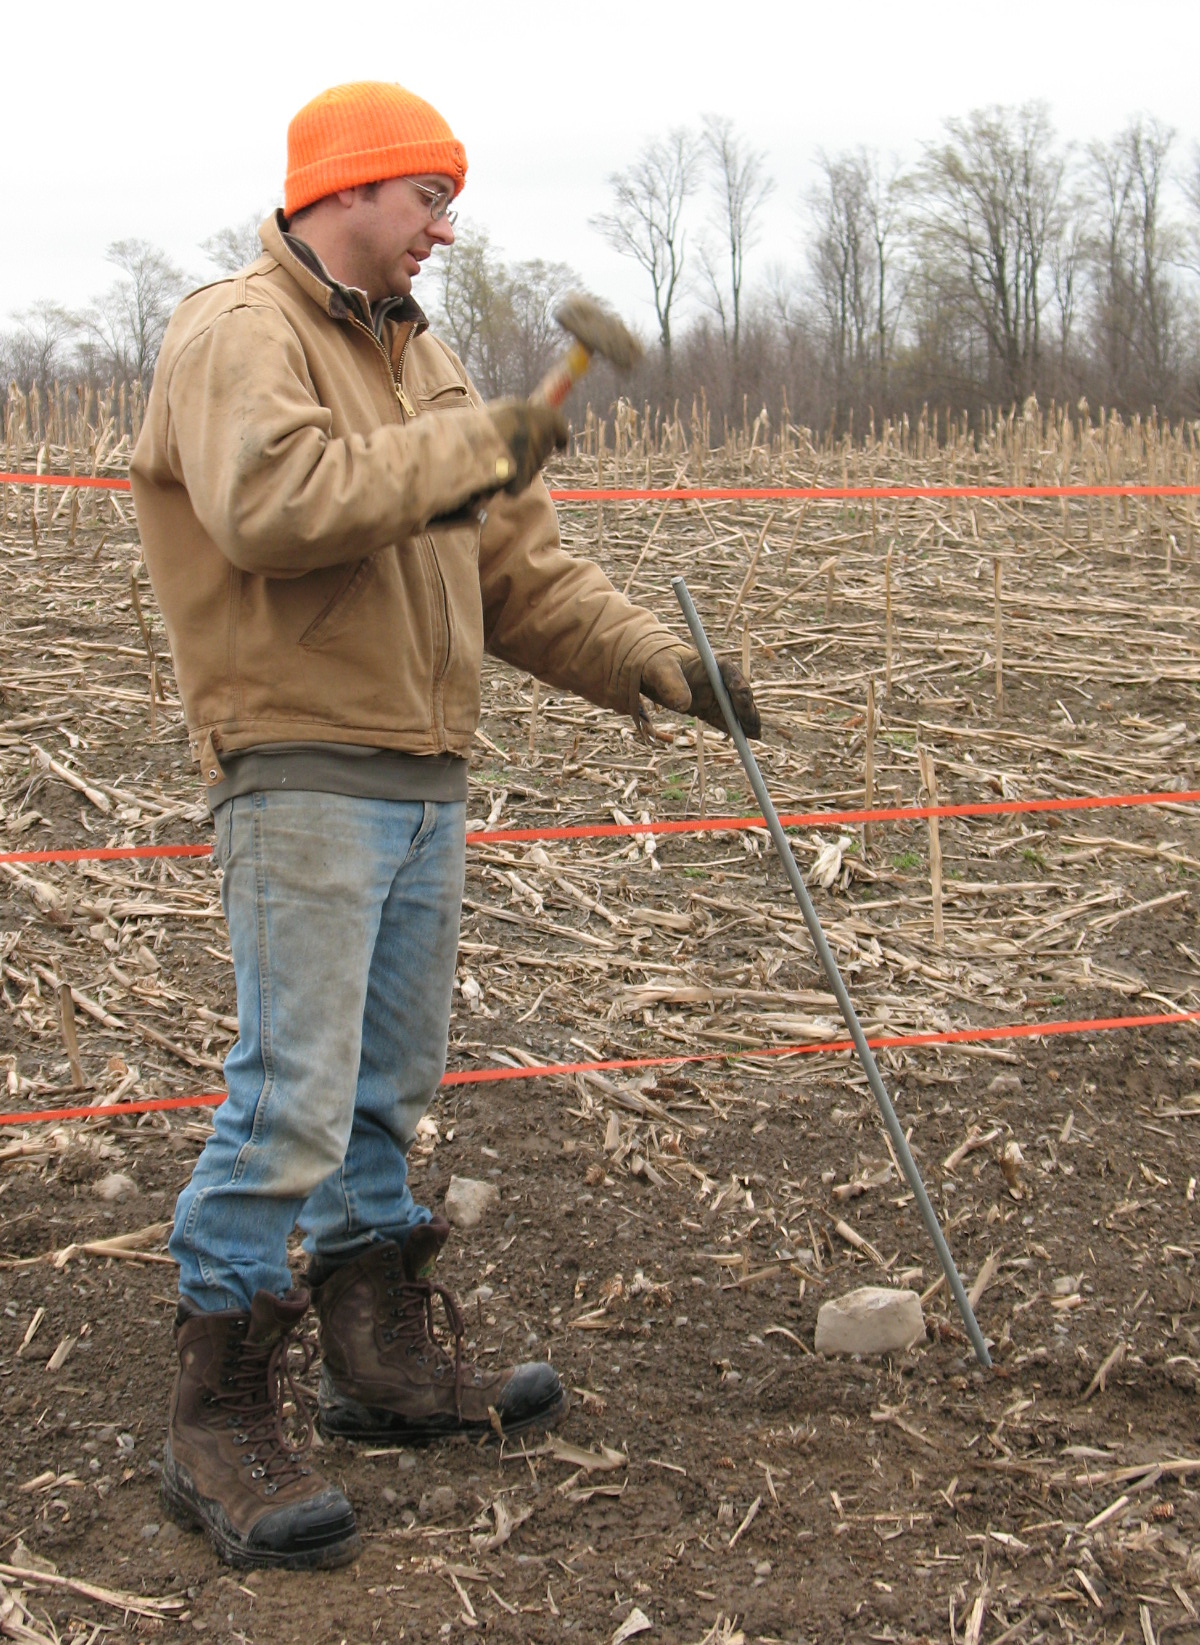
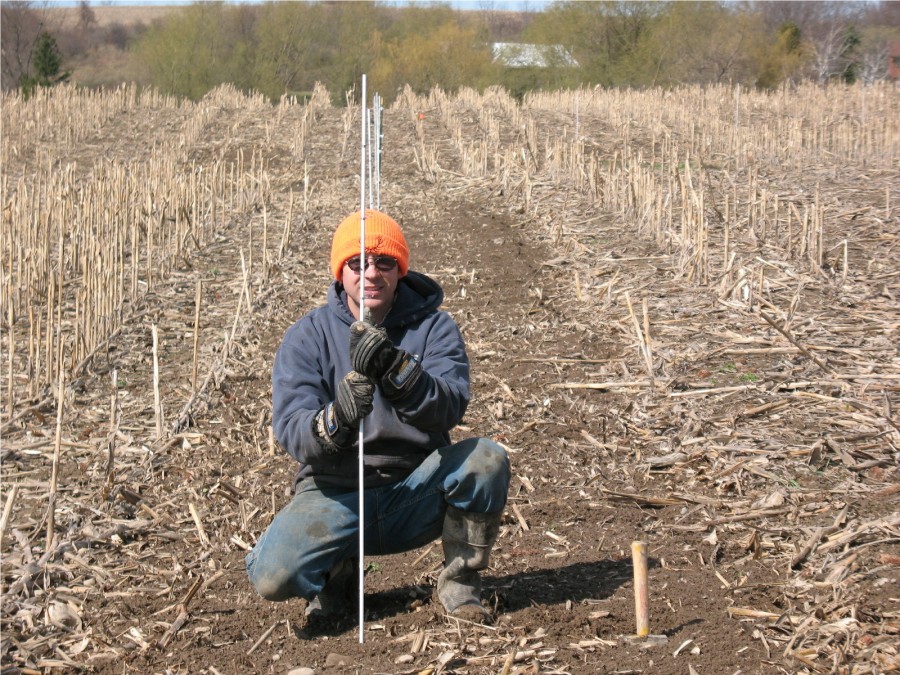
Step Four--go get all the corner posts and rods set in the field. (We will have pictures of this when it stops raining/sleeting). We are using 25 ft spacing between rods, with T posts for all the corners. For our section, that runs around 15 T-posts and 110 fiberglass rods (we used the 3/8" 5 ft long rods).

The exciting conclusion when we return... (or when the rain/snow stops so we have more pictures!)