Last week (as every week in the spring seems to be) was pretty busy.... building our small (to be heated) greenhouse. It's 17 feet by 36 feet (36 being the longest run we could fit in the yard without having to do some serious site work). It's a lot smaller than the greenhouses I'm used to for the past few years, but it should hold us for a couple seasons while we get up and running, if we use caterpillar tunnels with it. Our second, longer house is going out into the field over our tomatoes.
Here's a quick run down of the process (though you may notice some steps seem to be missing... those would be the moments with lots of four letter words and grumpiness going on that we preferred to not capture on film!). It took us about 3.5 long person-days (including all the material runs).
We have a Ledgewood frame (from NH) and they have great pictures on their website (without the frustrating parts edited out): www.ledgewoodfarm.com. Ledgewood makes a solid frame, but there is a bit of variability in some of the pieces sometimes (which leads to four letter word moments). However, their price does offset a lot of the frustration!
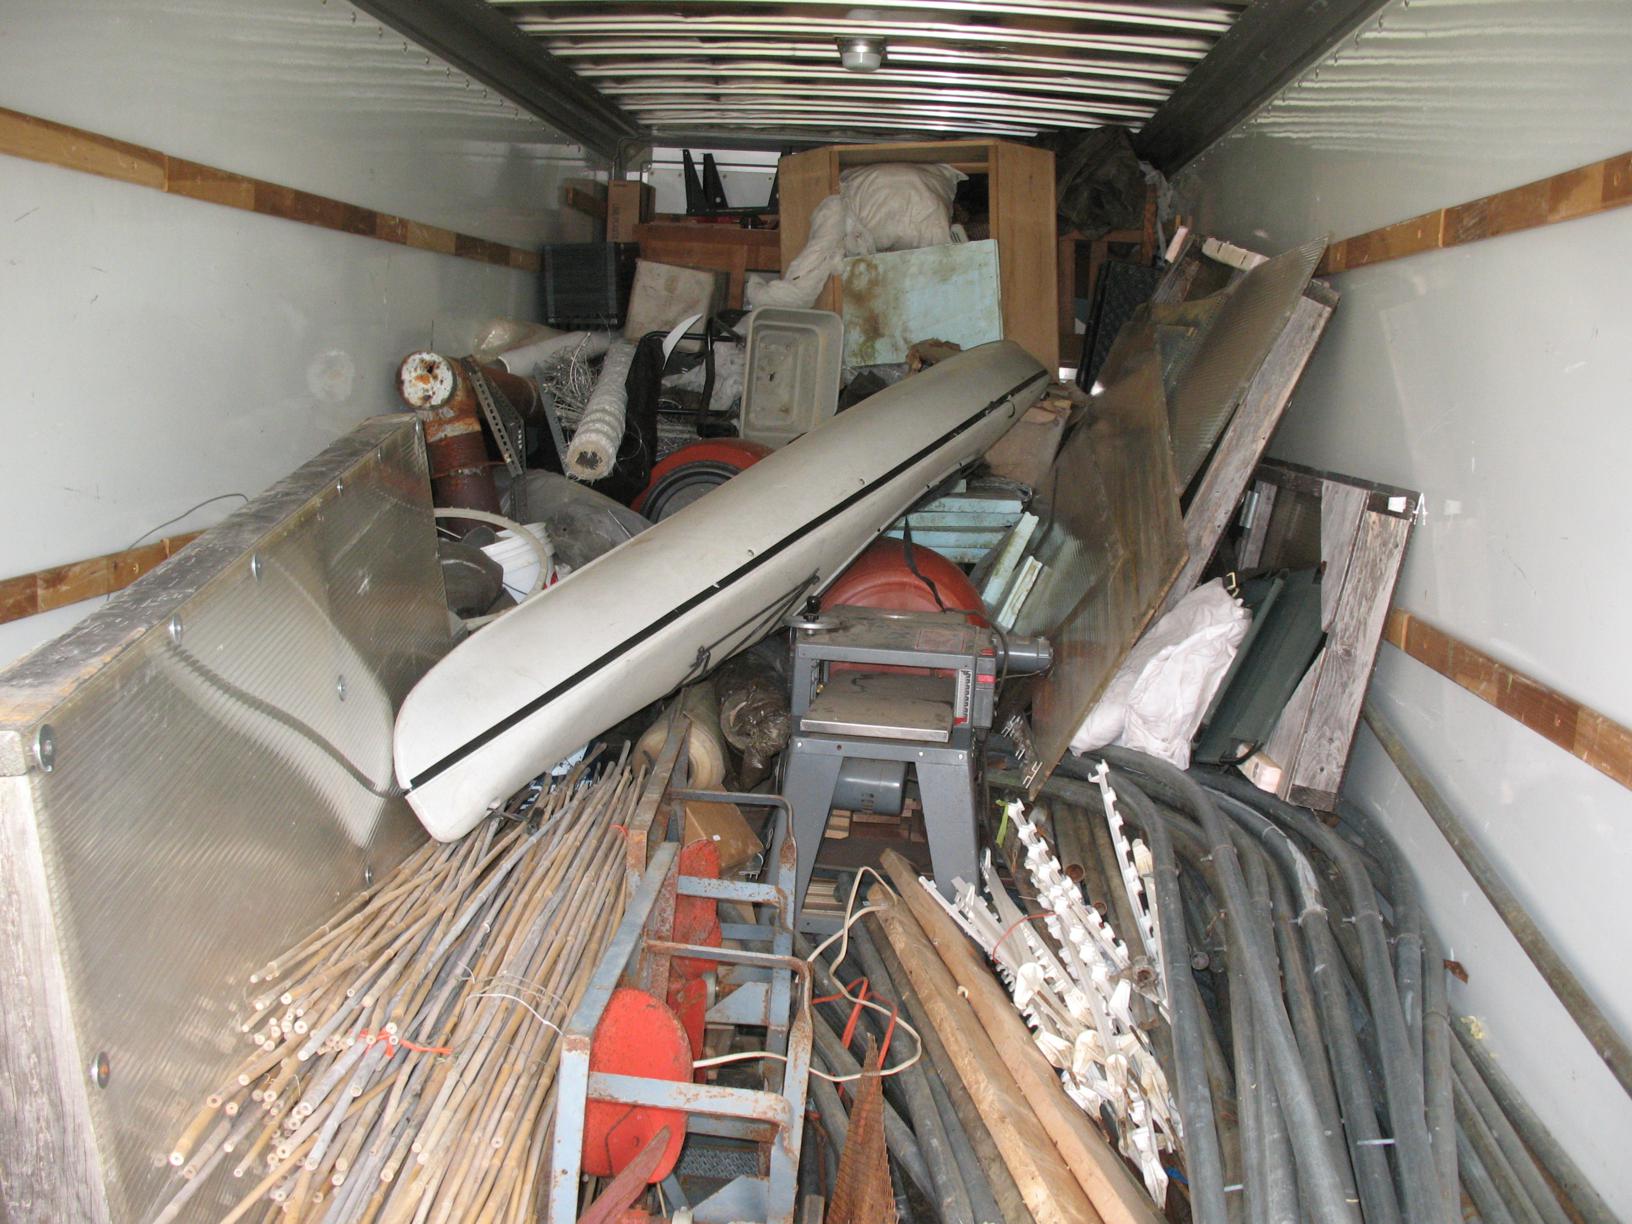
Here it goes: Unloading the bents from the moving truck (which was quite a scene... more pics on that in our next blog entry). 2 17 ft wide houses require the longest truck (26') to make things easier.

This is what two frames and all their metal parts looks like. We had one frame intially (a small 17x20 one for seed starting), and then bought 2 17x48 frames, the three of which we are attempting to consolidate into one seed starting house (17x36) and one high tunnel (17x80), which means it's like a giant greenhouse puzzle figuring out what should go where.

We chose our site and greenhouse size based on it being the only flat area in the yard that isn't shady. In 3 years, our goal is to do some pretty extensive site work for a big (30x100) house next to where this one is.
 While this spot is temporary, it's still important (and makes your life easier) for things to be very SQUARE when you start! Above Matt is laying out the first lines, before calculating diagonals to square things up.
 Greenhouses are innately frustrating because it's so important for the base to be square and in line, yet you are pounding things into the ground with a sledgehammer, which is not the best precision tool.
If you are reusing older ground posts, make sure to whack them and get all the old soil and rock out (otherwise they are INFINITELY harder to pound in). One thing we don't like about these ground posts is that they are so short, which is less than ideal on a windy site. We will be replacing some in the field house with 4 foot ground posts for added stability.

Once you are all squared up and have cleaned out your posts, it's time to pound them in.

We made a spacer jig (four foot spacing) to make setting the posts easier.

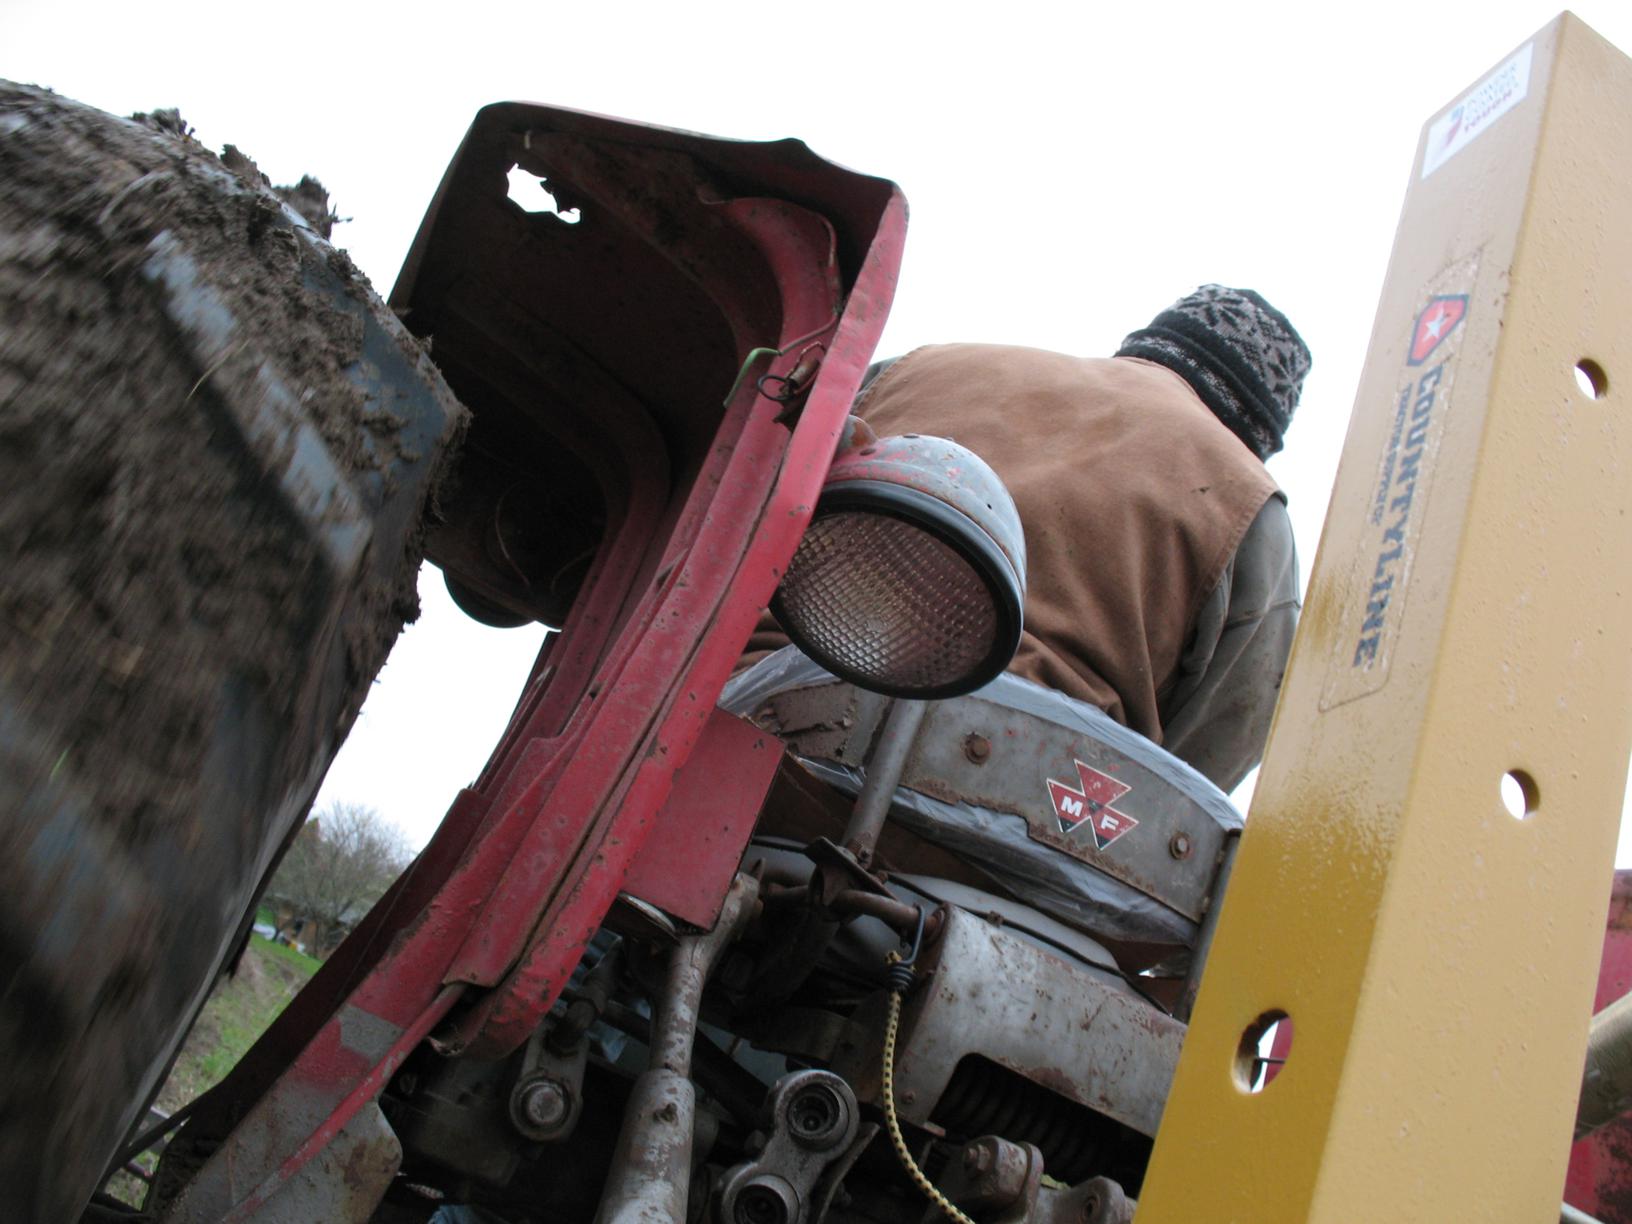
When pounding, you need to use a large bolt or some sort of plug to distribute the force and prevent the ground posts from bulging or bending (though for some of these posts, it's their third installation and the metal is starting to deform a bit).

There will always be at least one large rock in your way, even if your site doesn't have any rocks. Here Matt is joyfully excavating it. (This is around when the four letter words begin for the day.)

One side finished and square:

Now it's time to assemble the bents (or "bows"). We have a picture showing them laid out on the ground, but then a gap in our pictures until the finished frame. Usually getting the bows up isn't particularly frustrating. What's hard is getting the purloins (the three cross bars) to line up across the house.

Here is the completed frame... the bows are all bolted into the ground rods, the purloins bolt onto the bows, and the cross pieces are wind braces that fasten onto various bows for diagonal stability.

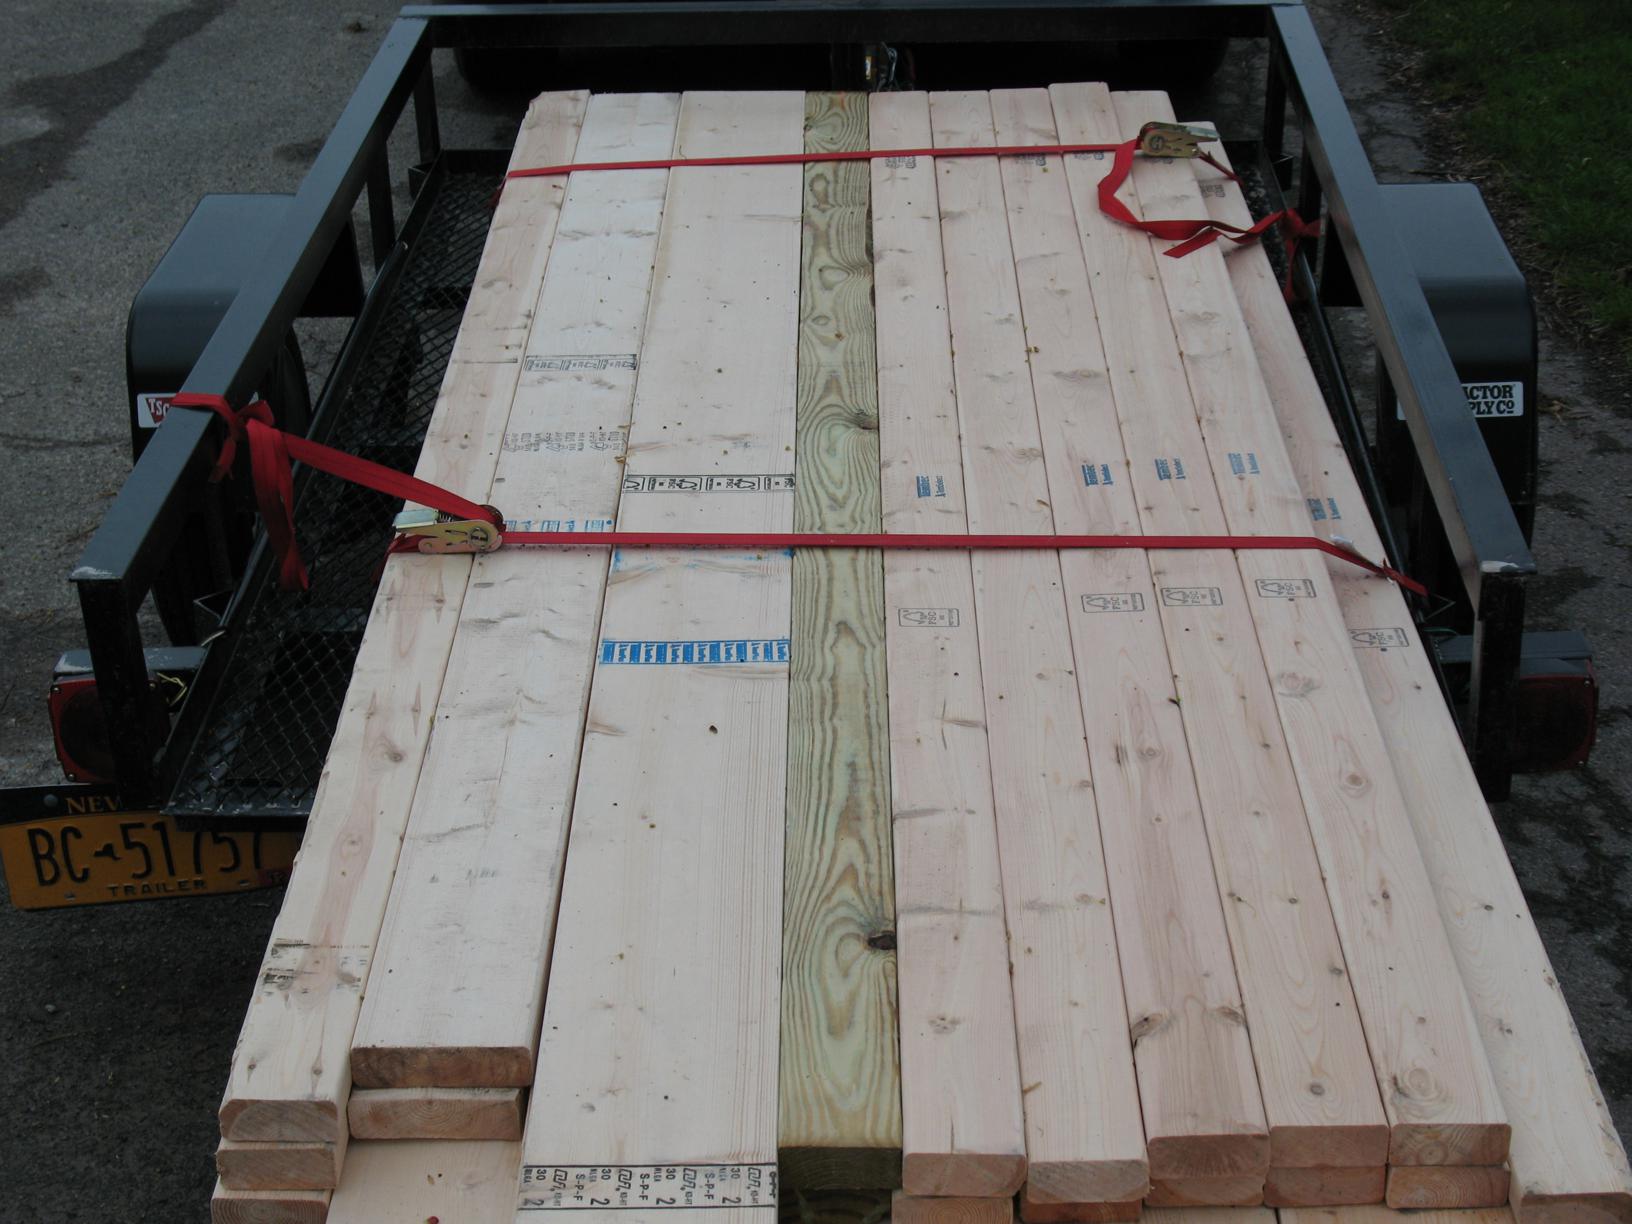
Once the metal frame is done, it's time to add the baseboards. We are transitioning to organic, so pressure treated material is out. We used untreated boards, which should have at least a 5 year life. We dug in the baseboard in places, and added fill in other places.

The baseboards bolt to the frame for added stability.

We opted not to do roll-up side walls and to just vent from the ends, but we may change our minds and add sidewalls later in the season. We did wrap extra plastic around the baseboard in an attempt to have a tighter seal against drafts on the bottom (and hopefully extend the boards' life). Here's sod going back onto the wrapped baseboard:

The endwalls can be the most frustrating (hence, no pictures of the process!). We used plastic on them since our house is relatively short and we needed some light transmission. They are framed out pretty lightly with a door in one end and just venting panels in the other end.
Here's the finished house... we couldn't take any plastic pictures since it took both of us to wrestle it down. The plastic is attached to the 2x4s on the endwall and the baseboards by being sandwiched between the boards and pieces of strapping. We left a little extra plastic since it was a colder day when we skinned the house, and we may need to re-tighten it in a few weeks.

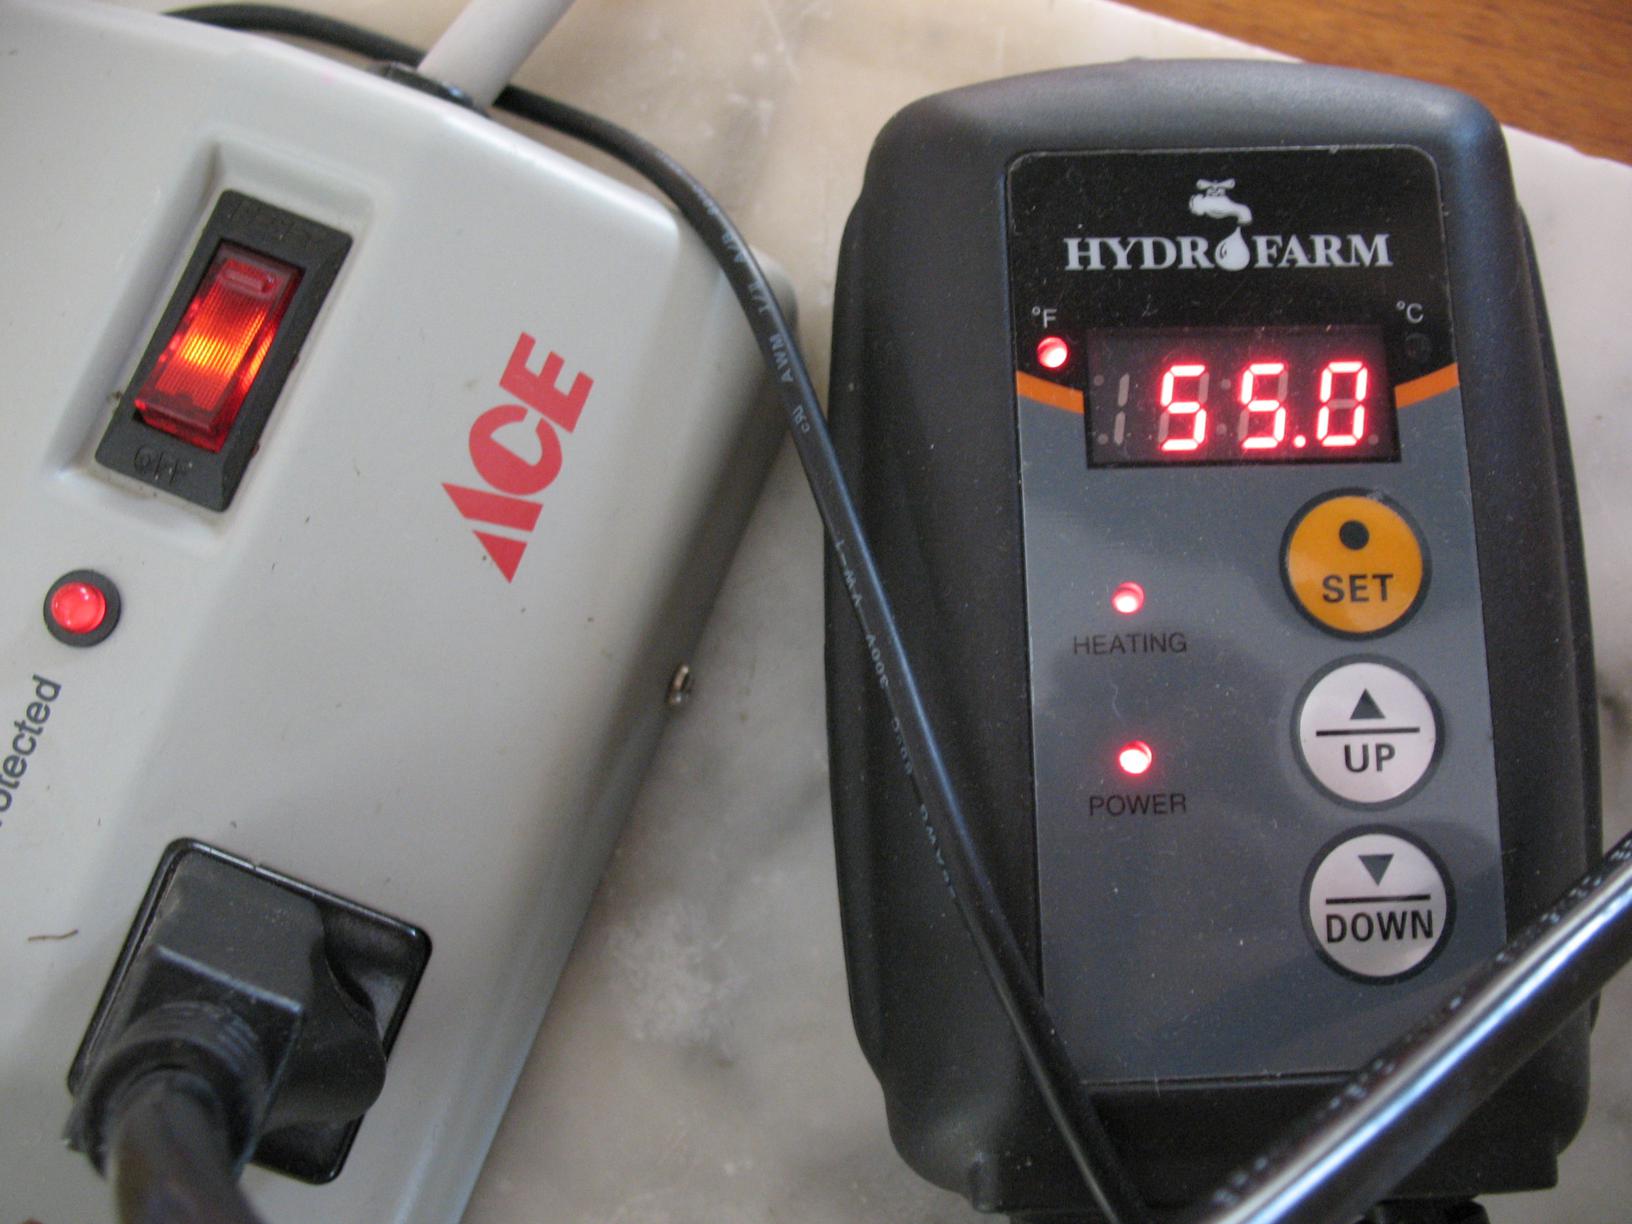
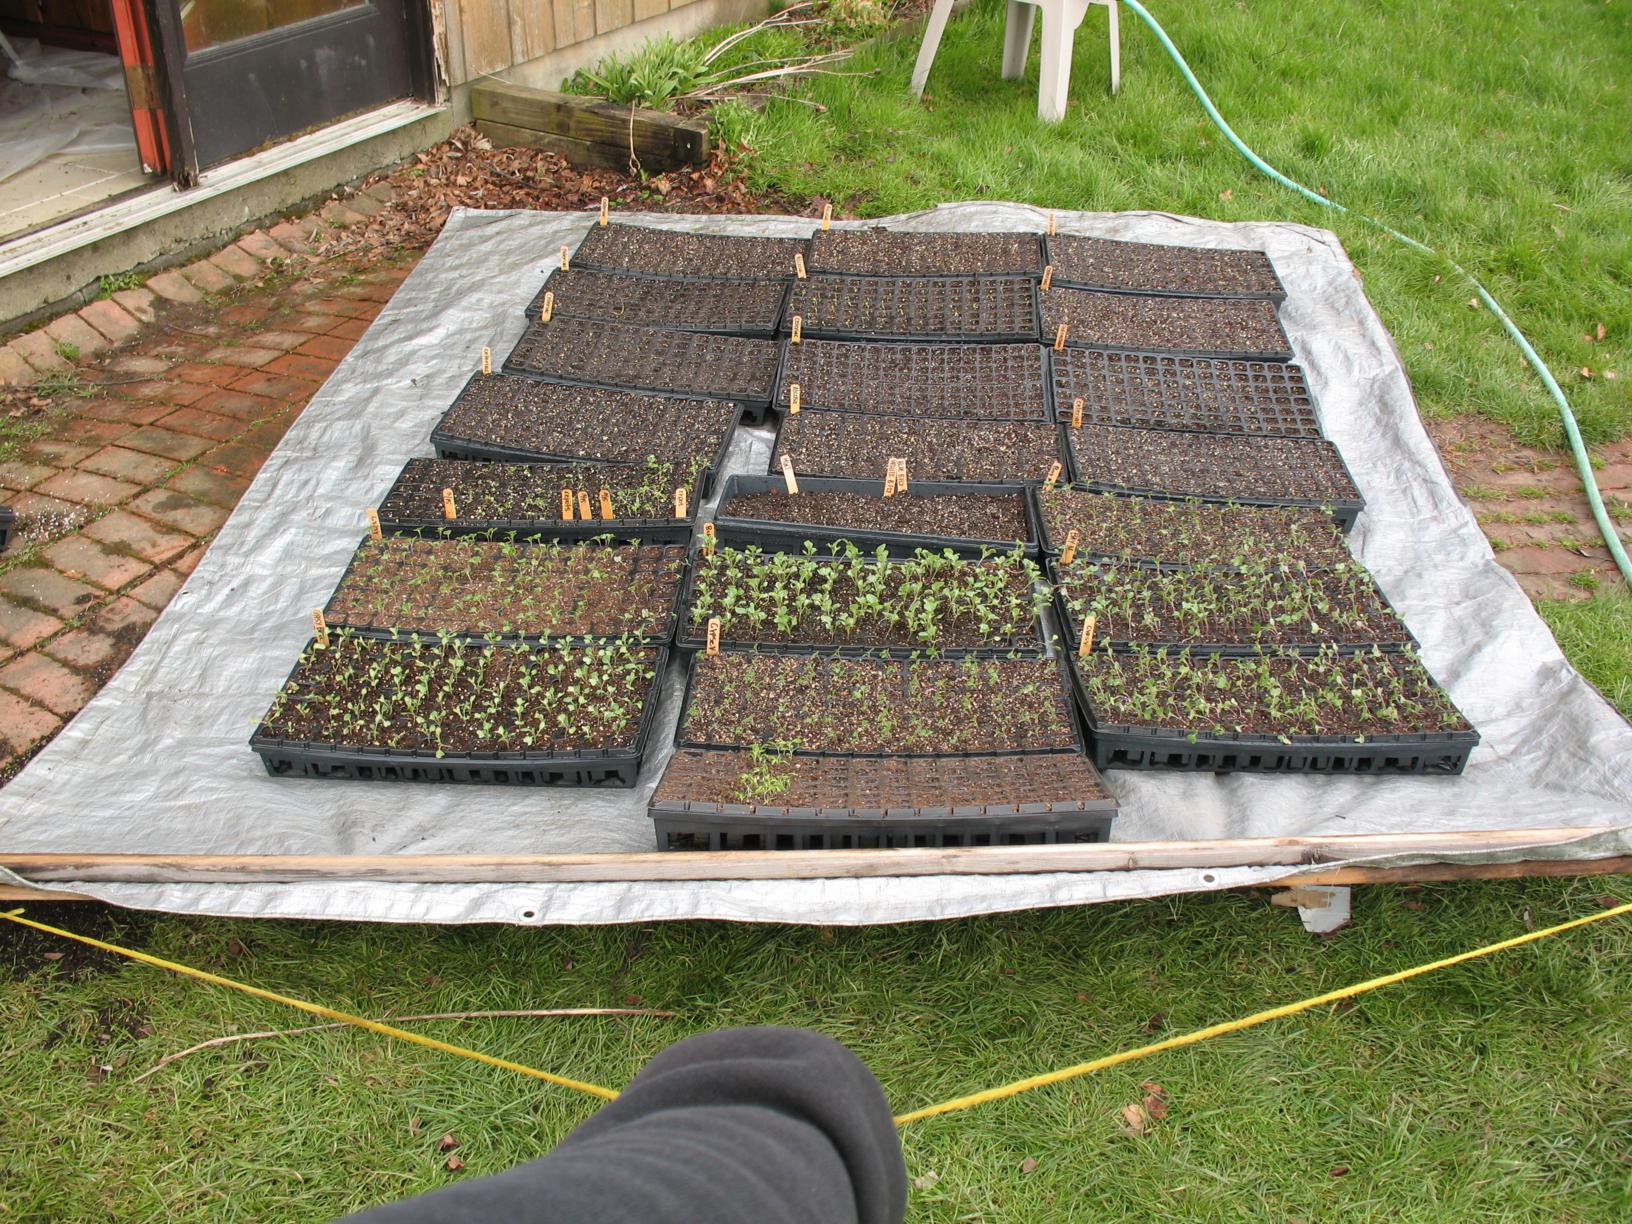
Done just in time for the peppers to move on out... Next week we will be filling it up about 70% as we pot on all the eggplants and tomatoes. We only have a small propane heater for this spring (since it's going in so late), but hope to install a better system for next winter!


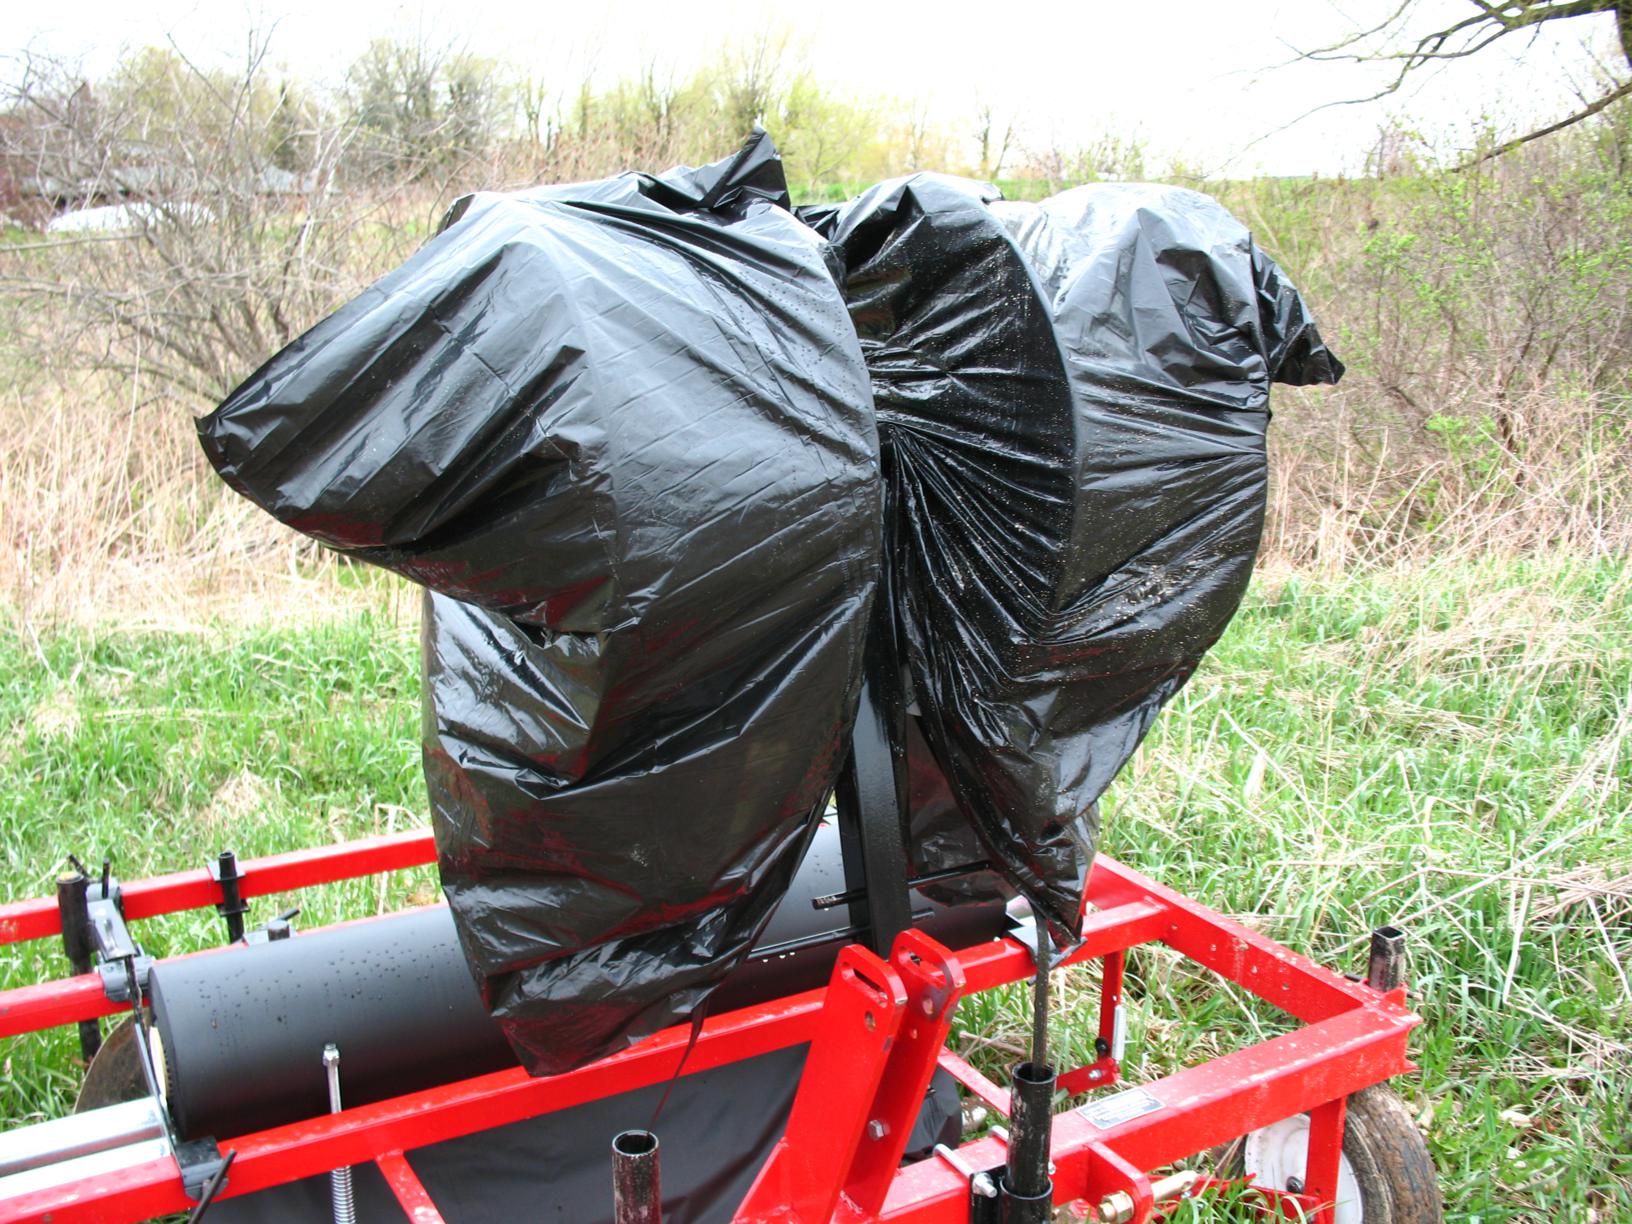
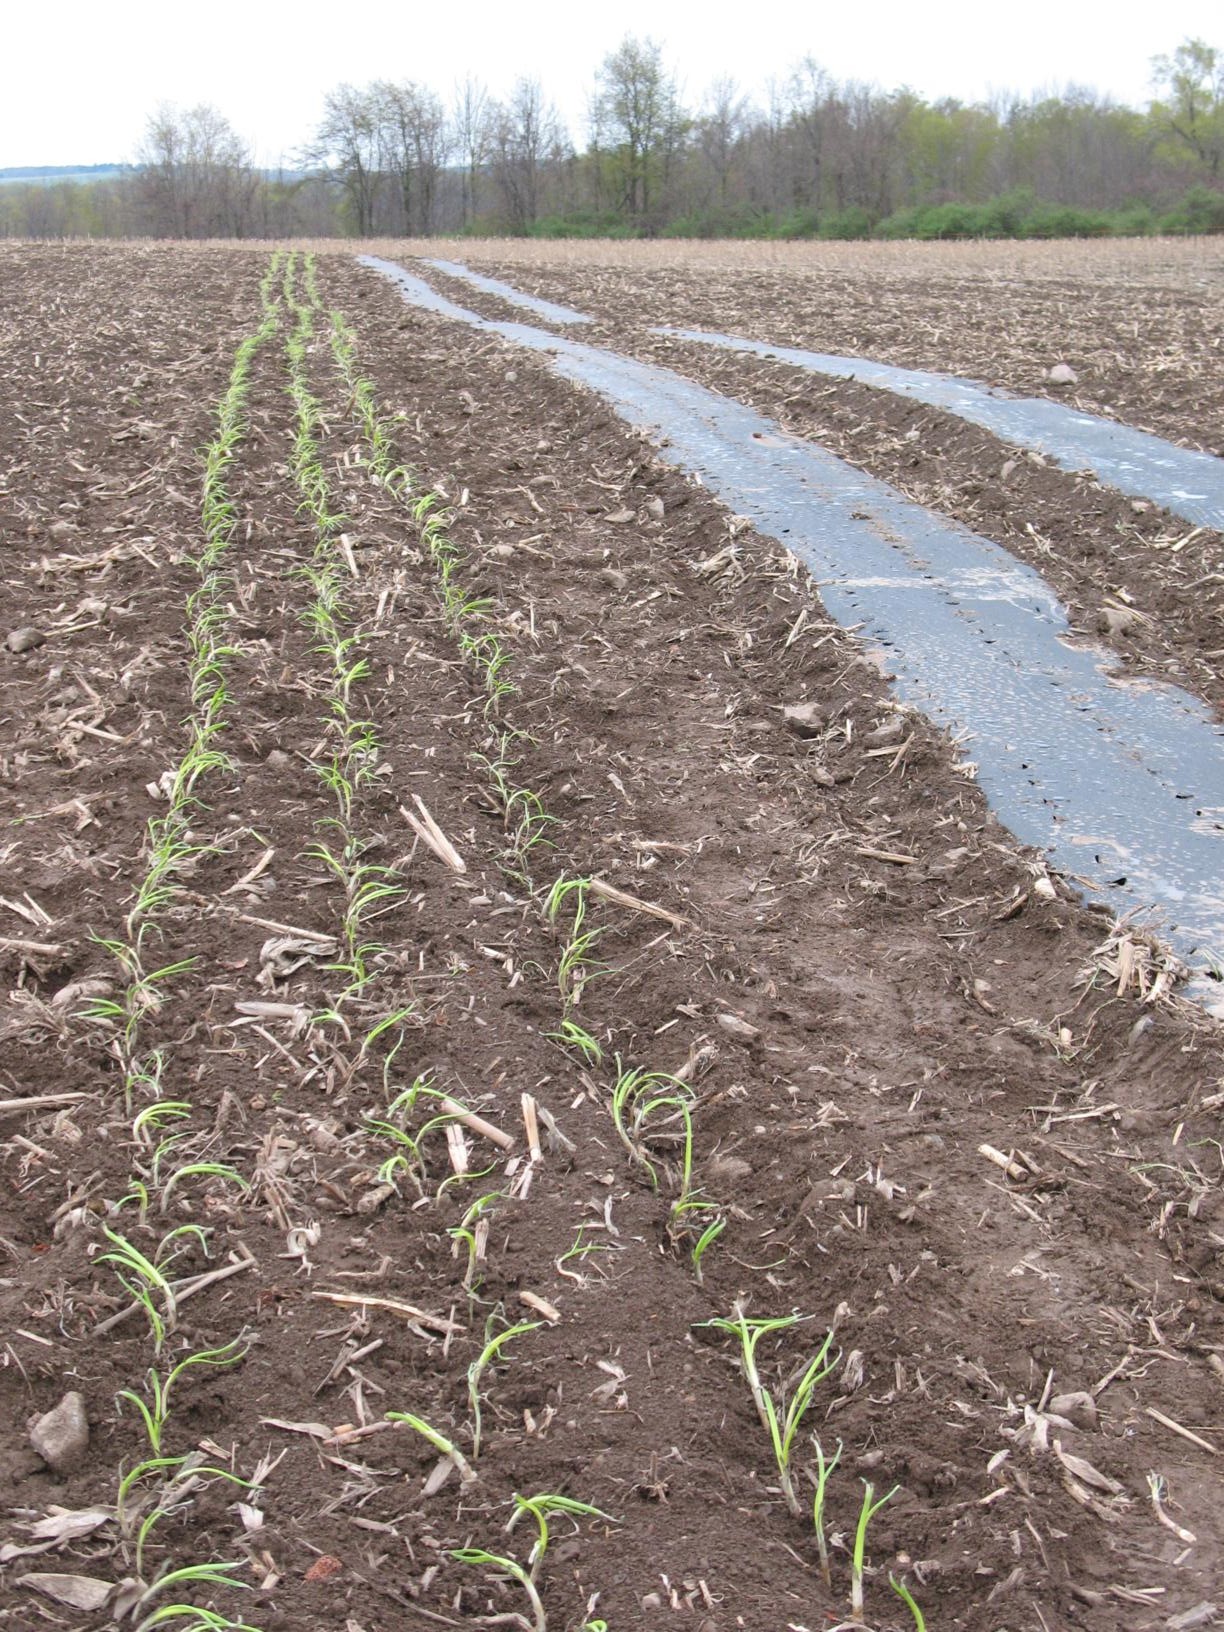
 It draws from the pond. Matt sunk an anchor down with a float on top, so the inlet is suspended mid-way from the surface and the bottom. There is a filter on the end (so we don't suck up any fish). (There is also a secondary filter that will go on for the drip system, but we don't need that until later this month.)
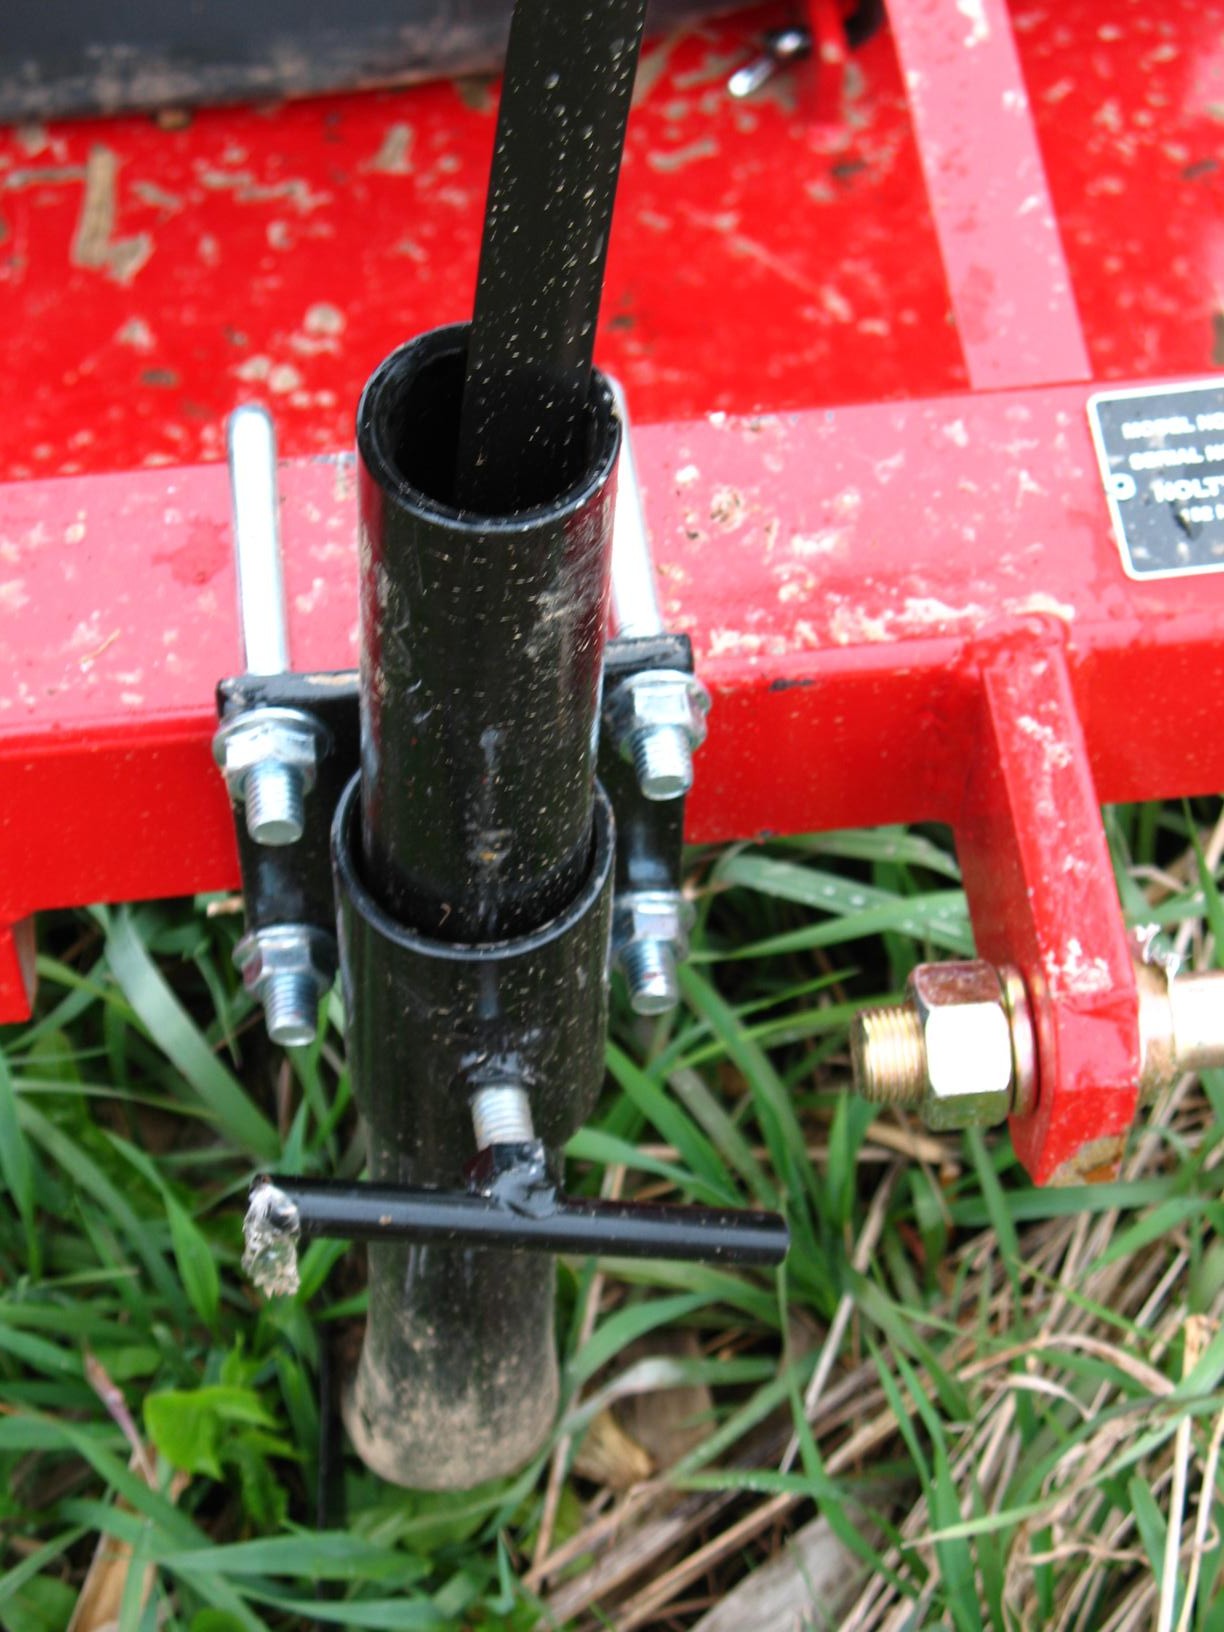
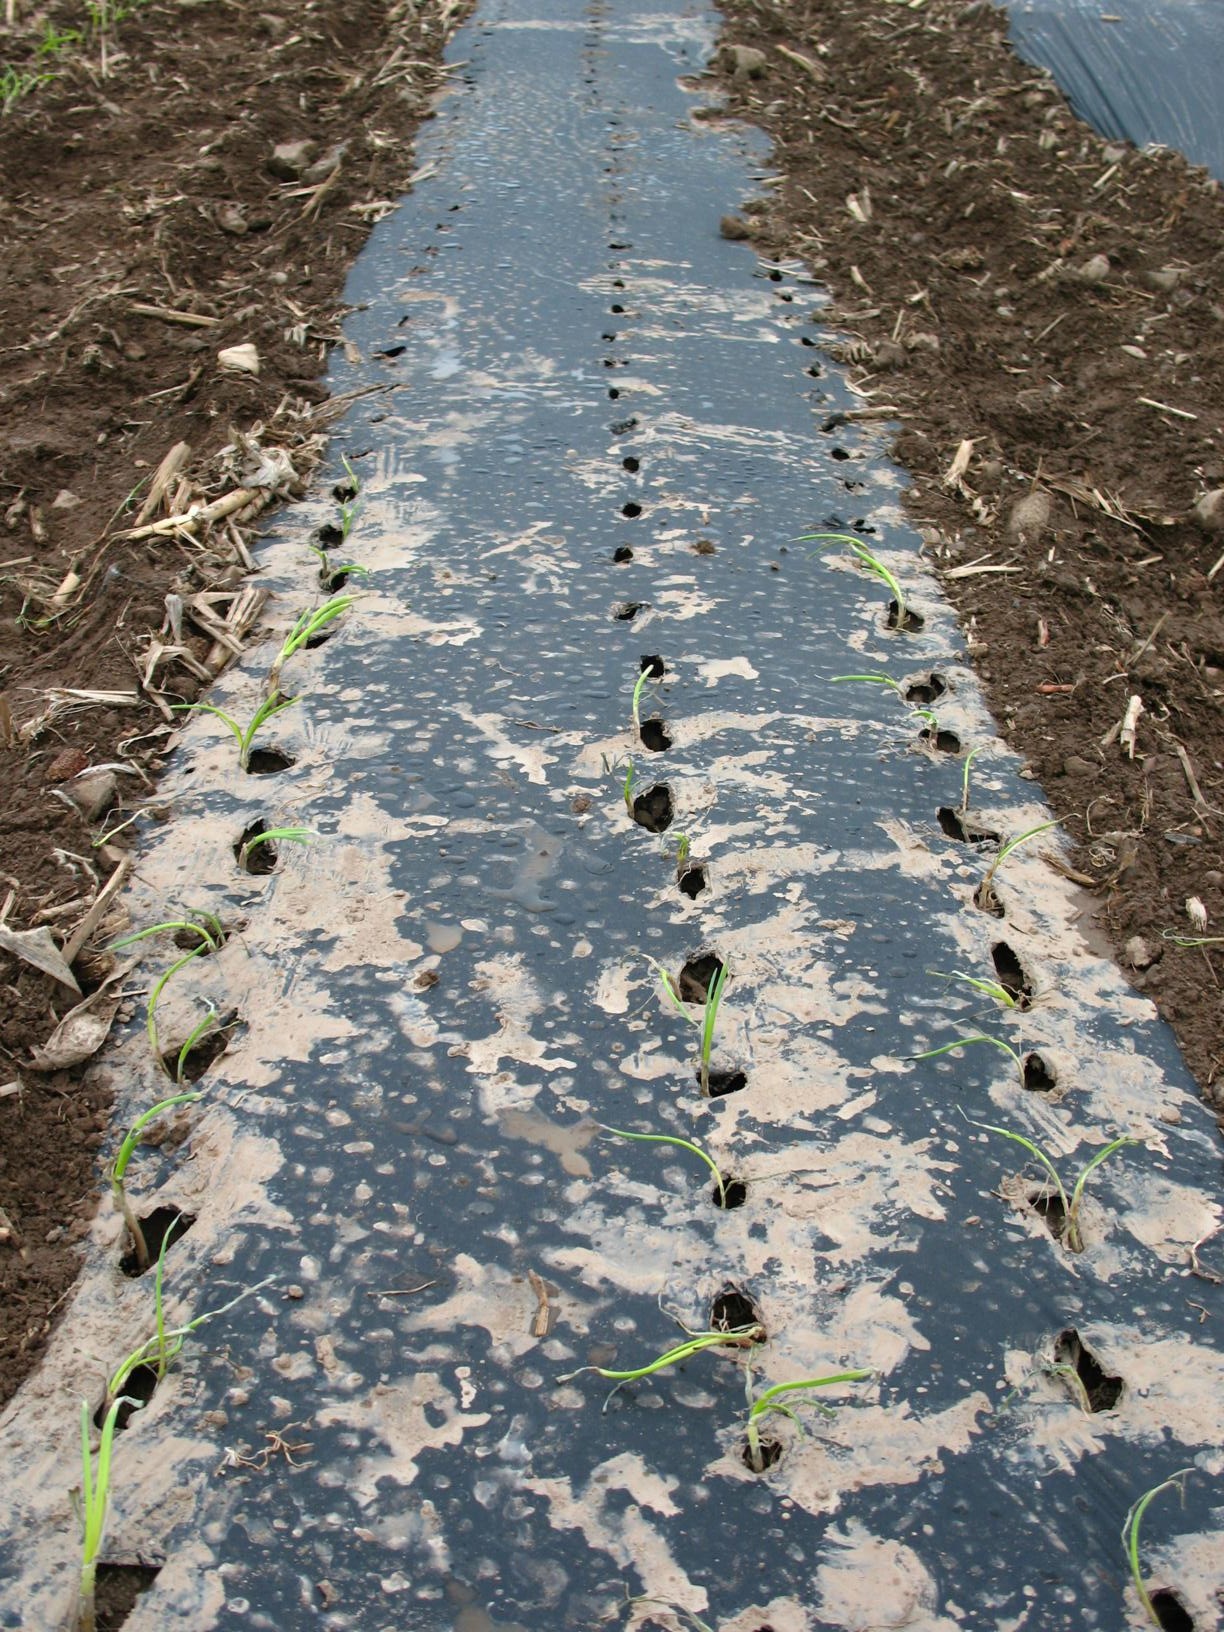
 For the past two days, we have just used it to water in seedlings. That's when you drench the seedlings right after transplanting, which helps their roots make good contact with the surrounding soil so they take better to their new surroundings. One of the hose bib connections is below.